Setting up the front end#
In this part, you will create a web front end. Users can interact with the smart contract easier by using your front end compared to interacting with the node directly. Non-tech users might find it inconvenient to interact with smart contracts via the Concordium node and some users may choose not to host their own Concordium node locally. This tutorial part will show you a setup that alleviates the need for the user to host their own Concordium node.
You can lower the bar for entry by coding an appealing front end that provides additional information to your potential customers. Web front ends are a familiar sight nowadays, but to use the front end, users will also need to download a browser wallet as a browser extension. The installation and safe usage of the browser wallet might be new for people using your front end. Providing comprehensive explanations and step-by-step guides on your website on topics related to the browser wallet is important for a good user experience. The browser wallet connects via HTTPS to a server that is connected to a Concordium node. This setup alleviates the need for the user to host their own Concordium node.
Note
Before you start with part 3 of this tutorial, make sure you have:
access to the Chrome web browser on your computer
Node.js is a JavaScript runtime environment and yarn is a package manager
used in combination with node.js. You can download node.js and
yarn on their official websites.
Concordium Wallet for Web#
A browser wallet is a piece of code that can be added as an extension to supported browsers such as Chrome.
The browser wallet allows you to interact with the chain and make transactions.
Currently, the Concordium Wallet for Web does this by connecting to a (gRPC) server that communicates with a node.
The Concordium Wallet for Web hosts the private keys corresponding to the accounts of the user.
Your front end code that is run in the browser constructs the transaction object
and sends it to the Concordium Wallet for Web. The transaction object is signed by the private key hosted in the Concordium Wallet for Web
and transmitted to the server via HTTPS. This server has access to a Concordium node and converts
the request (including the signed transaction object) that comes via HTTPS from the Concordium Wallet for Web
to a request that the Concordium node can execute. The signed transaction is
transmitted via peer-to-peer communication to other Concordium nodes and becomes
part of the Concordium blockchain.
Note
If you already have an older Concordium Wallet for Web extension installed, check its version and download a newer version if applicable. The wCCD front end requires some new features that are supported by the Concordium Wallet for Web version 0.8.3 or greater.
Setup wallet connected to hosted node (click here)
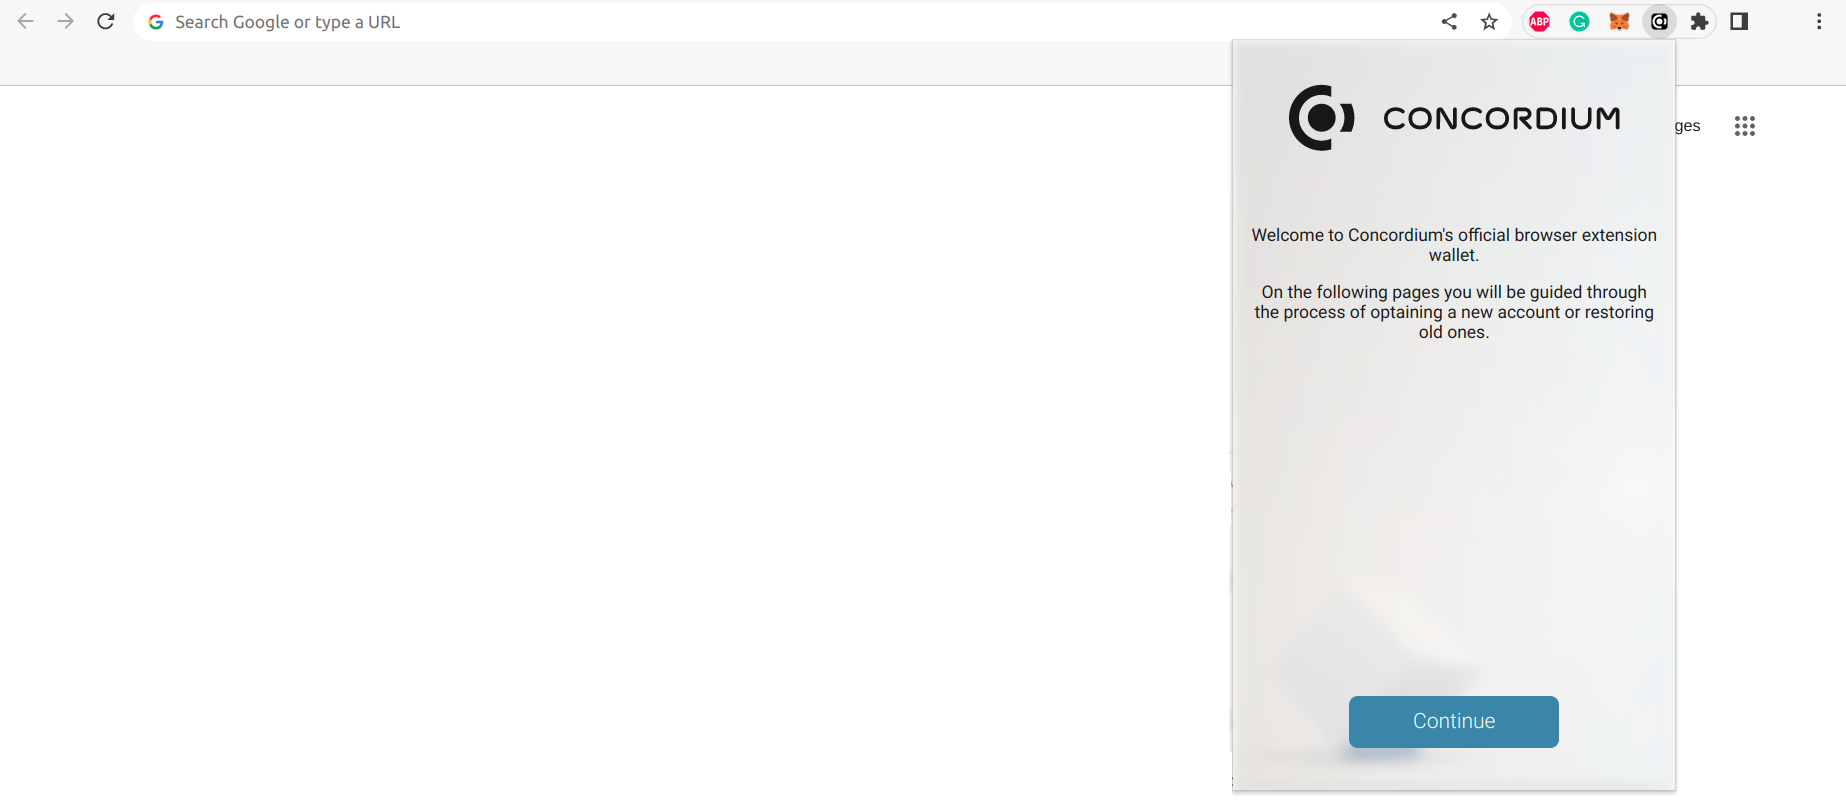
You are ready now to install the Concordium Wallet for Web. Install the extension for your browser as described here.
The Concordium Wallet for Web connects to a server hosted by Concordium which will take care of the Concordium node on your behalf.
You are ready now to start the Concordium Wallet for Web by clicking on the Concordium icon at the top right of the
Chrome browser.
Note
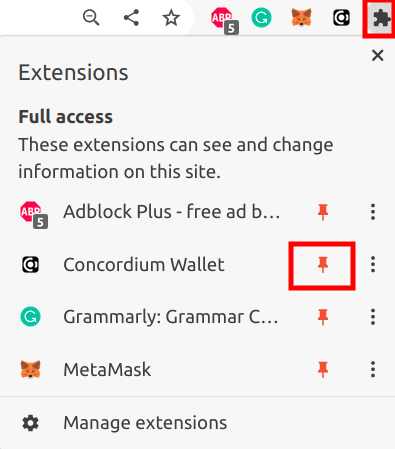
The puzzle icon at the top right of the Chrome browser allows you to manage your browser extensions.
You can enable pinning of the Concordium Wallet for Web.
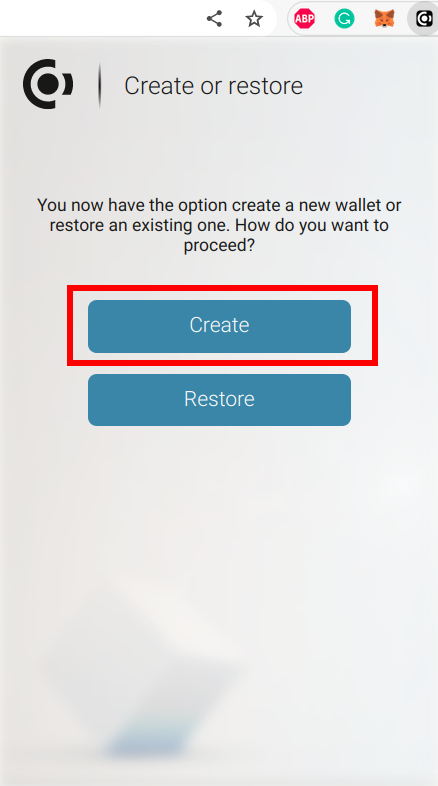
Create a new account on testnet by going through the setup steps of the Concordium Wallet for Web. You have to choose a password to secure your Concordium Wallet for Web. This password is needed to log in to your Concordium Wallet for Web.
The Concordium Wallet for Web creates a unique secret recovery phrase. Write down the secret recovery phrase and keep it in a safe place to be able to recover your accounts in case you lose access to your device.
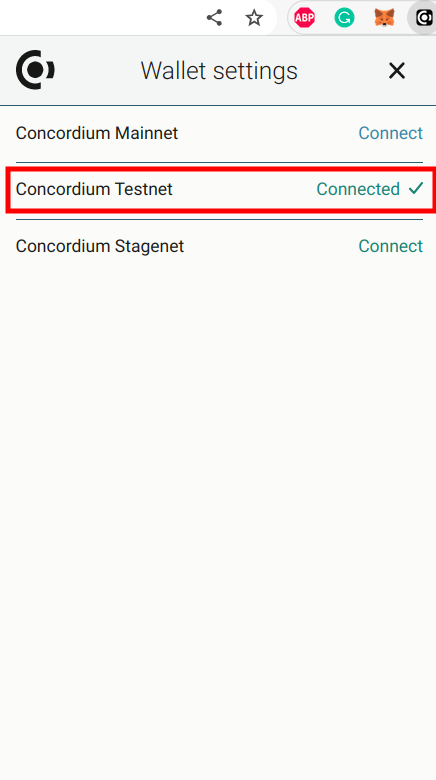
You have completed the setup. Check that your Concordium Wallet for Web is connected to the testnet.

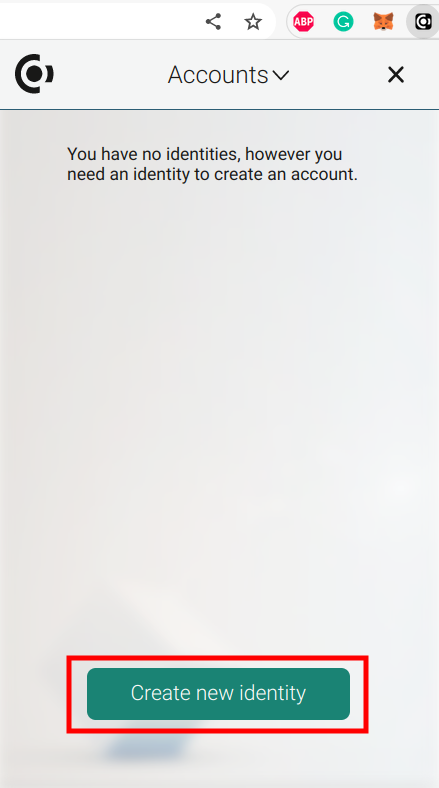
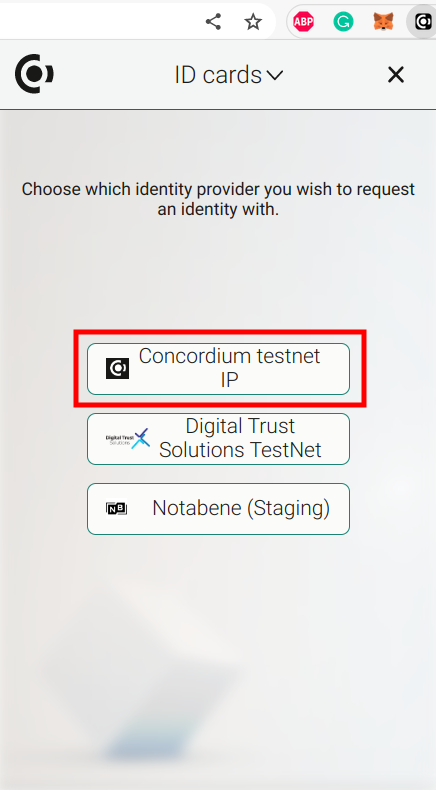
Before you can create a new account. You need to create an identity.
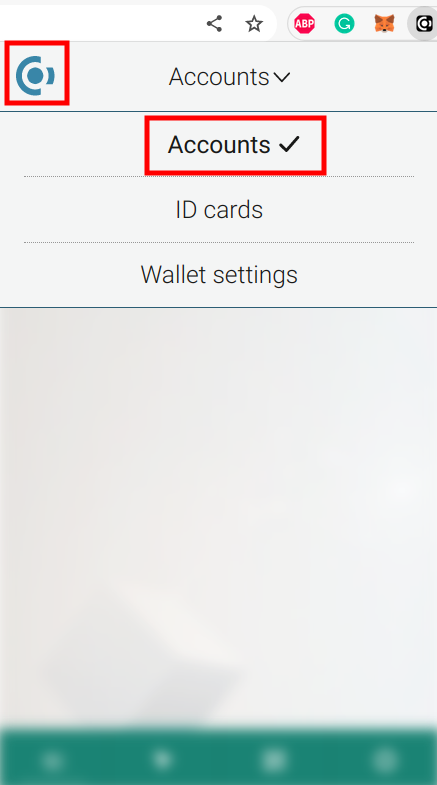
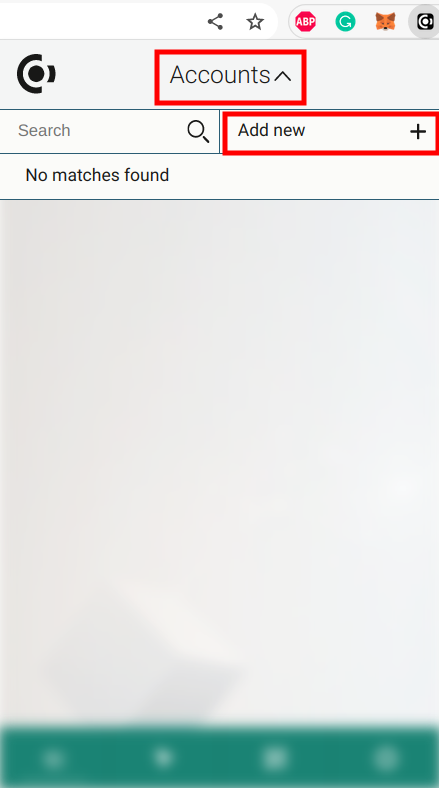
You are ready now to create a new account on testnet.
You completed the Concordium Wallet for Web setup. Send some CCD to your new account or request some CCD from the testnet faucet button within the Concordium Wallet for Web. Check that your account balance is displayed and you have enough CCD to be able to execute transactions.
Note
You are connected to a website with your Concordium Wallet for Web when you see the green Connected button.
You can toggle on/off the connection by clicking on the button.

Running the web front end#
You have successfully added the Concordium Wallet for Web to your browser in the previous section.
In the next step of the tutorial, you are going to clone a wCCD demo front end written with the React library
and run it locally. The demo front end has the required packages installed to connect to the Concordium Wallet for Web
and implements common flows to deal with the different states that the Concordium Wallet for Web could be in. For example,
the front end will display a connect wallet button when loading the website. Furthermore, the front end has flows
to react to the events when the user switches the account in the browser wallet or
connects/disconnects an account in the Concordium Wallet for Web to update the front end state accordingly.
Note
React is a popular open-source front end JavaScript library.
Clone this repository.
$git clone https://github.com/Concordium/concordium-browser-wallet.git
Build and run the front end as described in the README file of the wCCD front-end demo.
The steps in the README file are as follows:
Run
yarnin the root folder to install all dependencies.
$yarn
Build the Concordium helpers by running
yarn build:api-helpers. You can run this from anywhere in your cloned repository.
$yarn build:api-helpers
Navigate to the wCCD example folder.
$cd ./examples/wCCD/
Run
yarn buildin the wCCD folder.
$yarn build
Run
yarn watchto enable hot-reload (useful for development) of the web front end whenever you do any changes to the code.
$yarn watch
Run
yarn startin another terminal to start the web front end.
$yarn start
This command logs a URL in the console (typically http://127.0.0.1:8080). Open this URL in the Chrome browser.
Note
Check that your Concordium Wallet for Web is connected to the testnet and not to mainnet.
You completed the local front end setup.
To continue with the tutorial click here.
