Set up the Concordium Wallet for Mobile#
The Concordium Wallet for Mobile is a digital wallet that enables you to create and manage your Concordium identities and accounts and to create transactions such as sending CCD, and unshielding CCD (deprecated).
To learn more about identities and accounts, see identities and accounts.
Read the following guide to learn how to set up the wallet.
Get started#
Install the Concordium Wallet for Mobile on an Android or iOS phone. See Downloads.
Open the Concordium Wallet for Mobile; read and accept the Terms and Conditions.
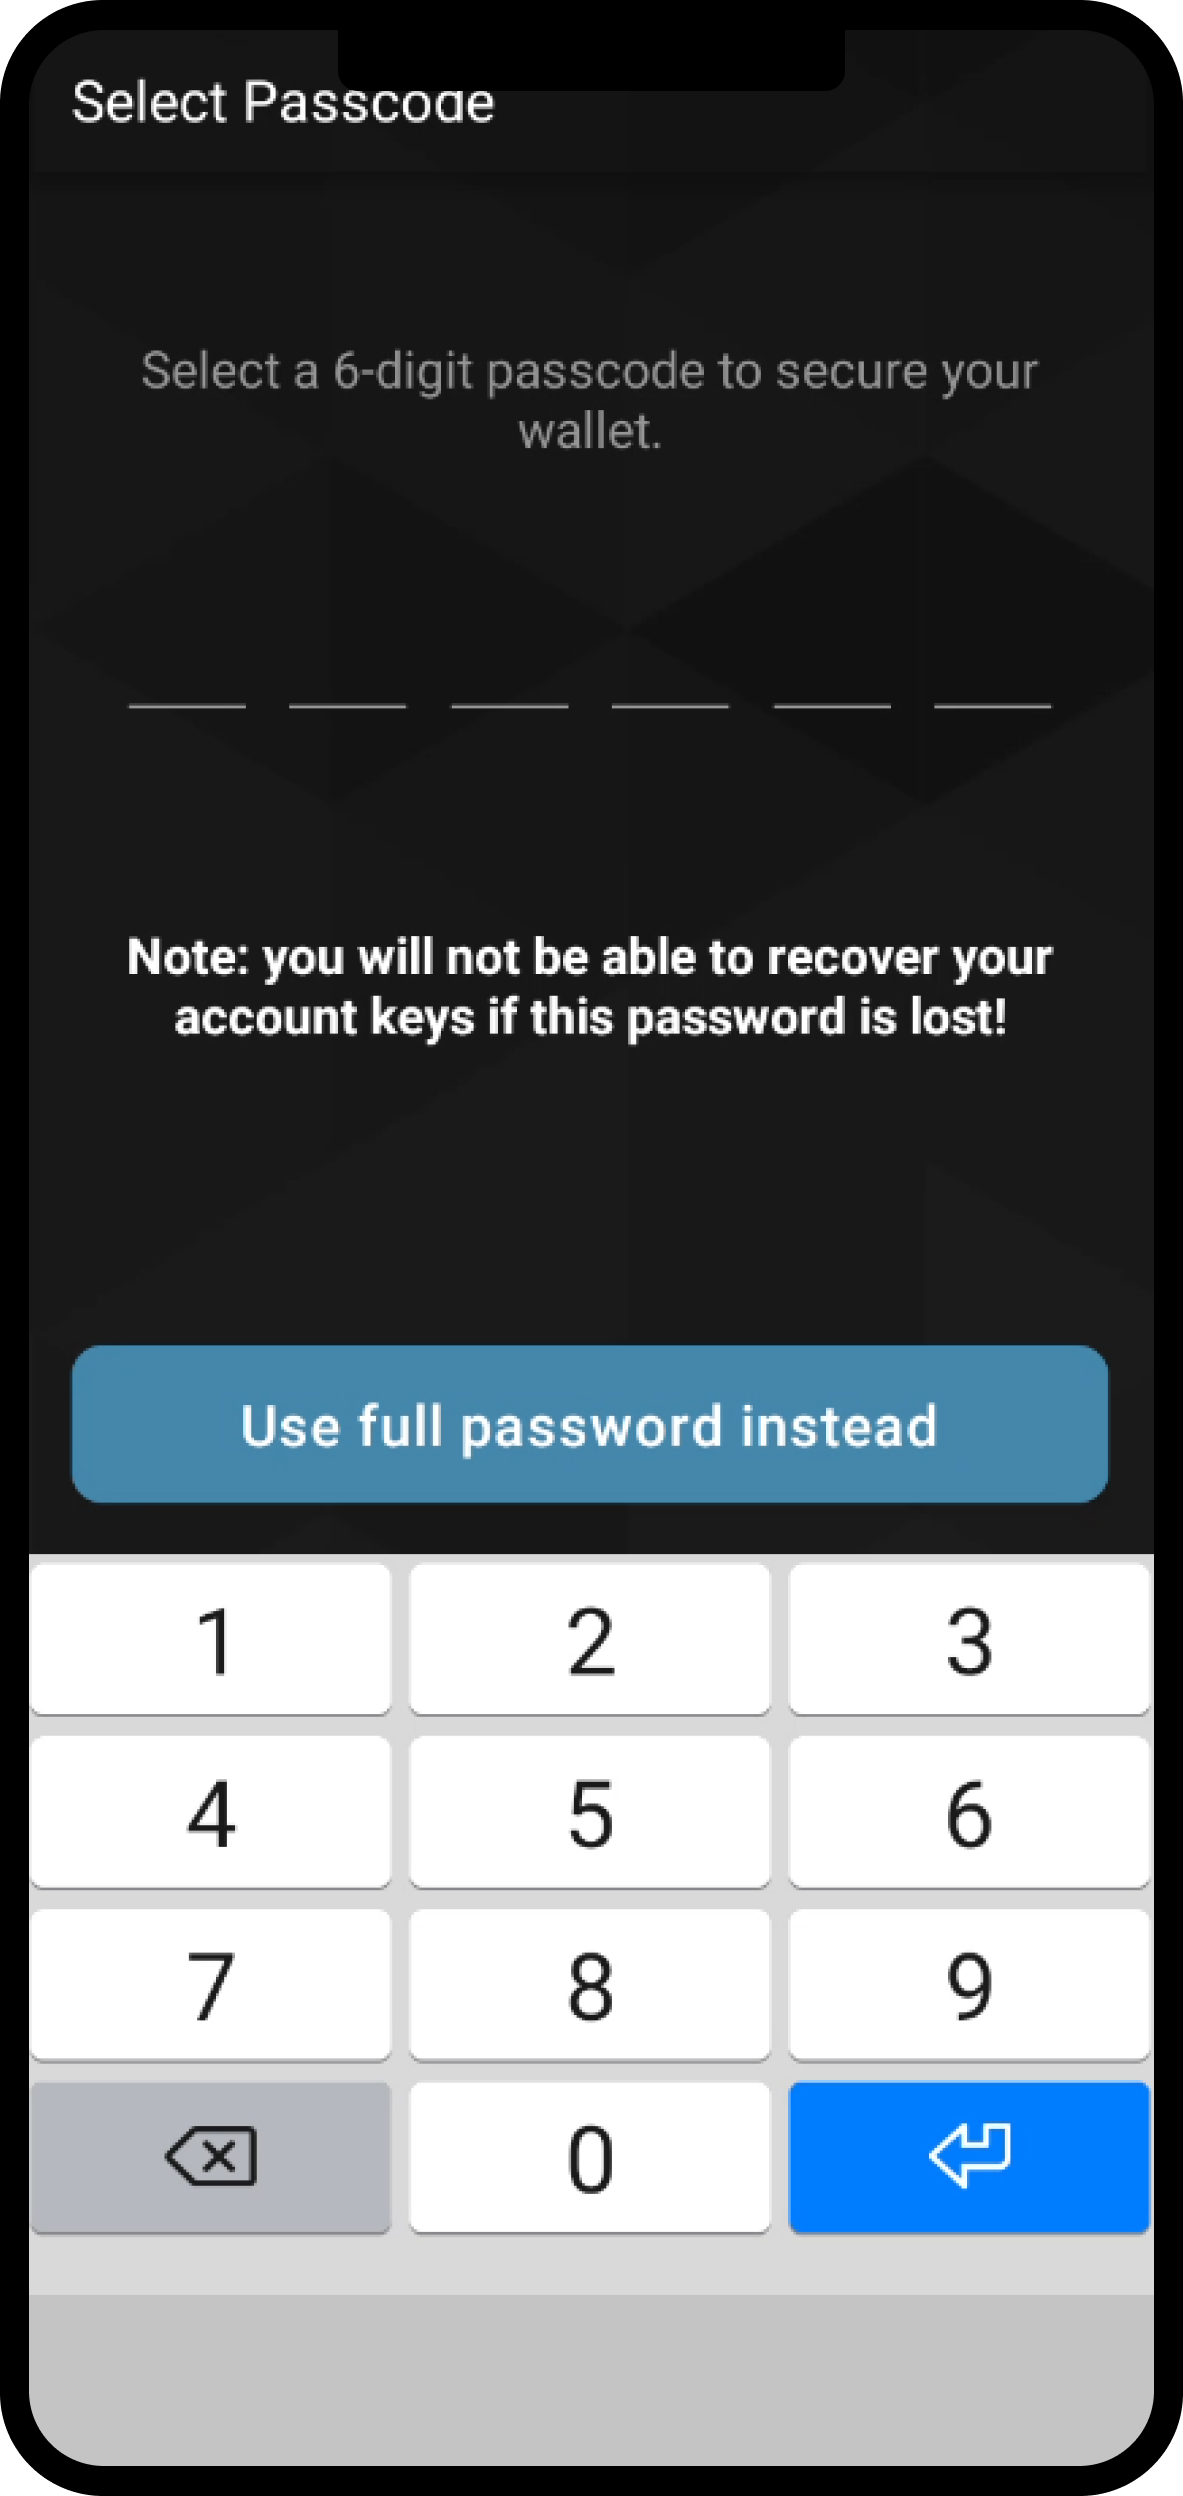
Create a six-digit passcode or use a full password.
Secret recovery phrase#
Now you must write down and confirm your secret recovery phrase. It is important to keep this recovery phrase in a safe location in case you need to recover your wallet.
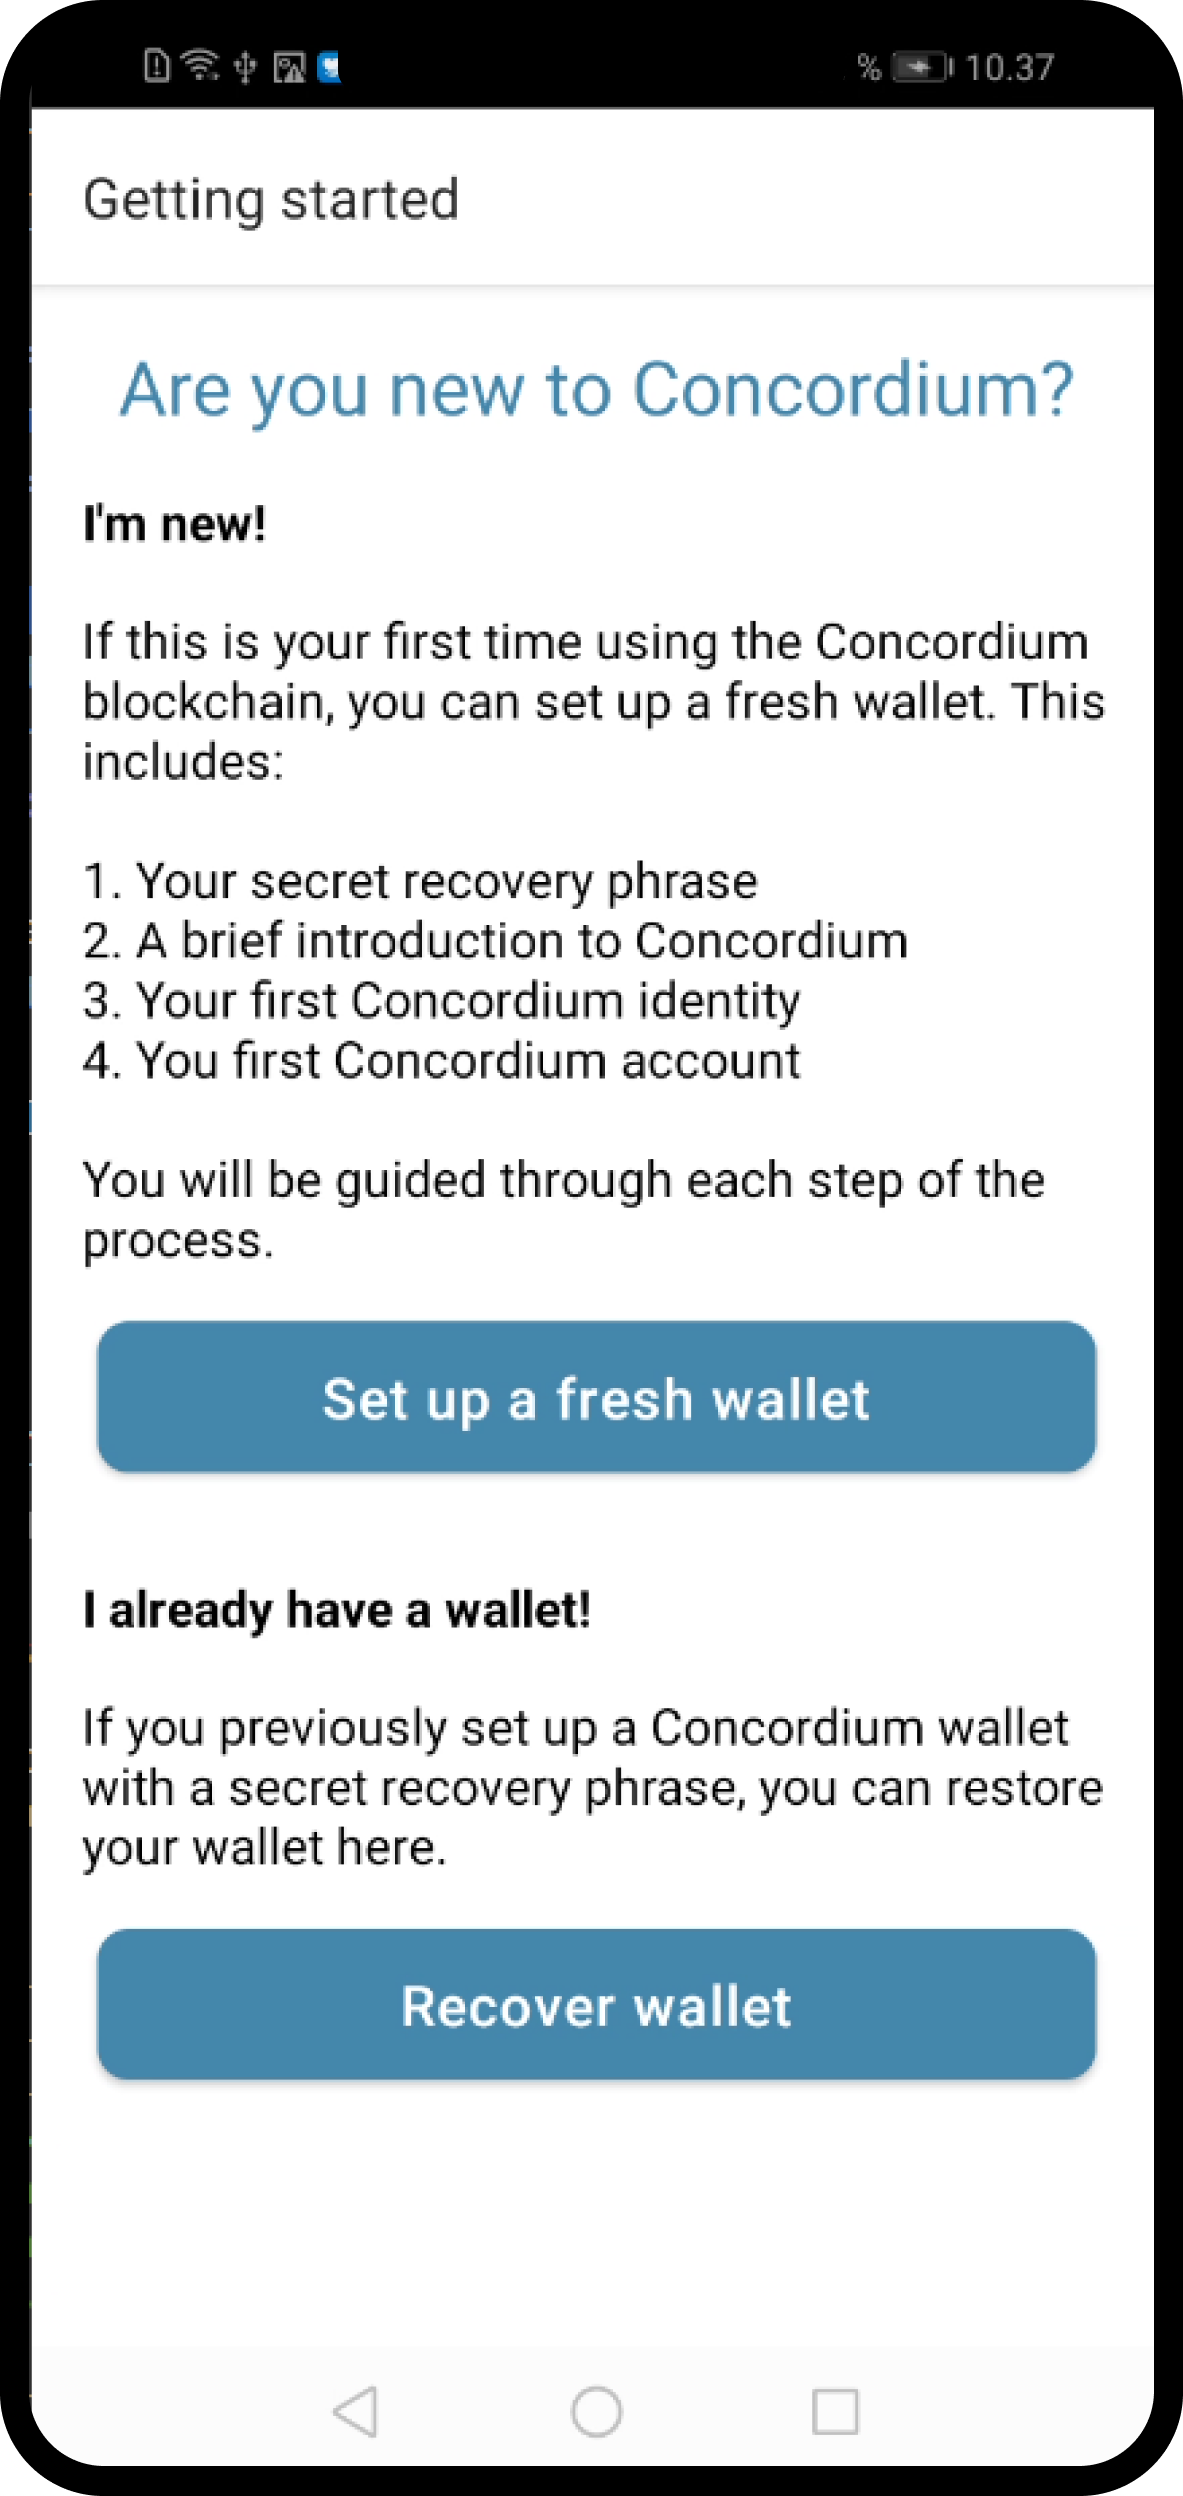
Tap Set up a fresh wallet.
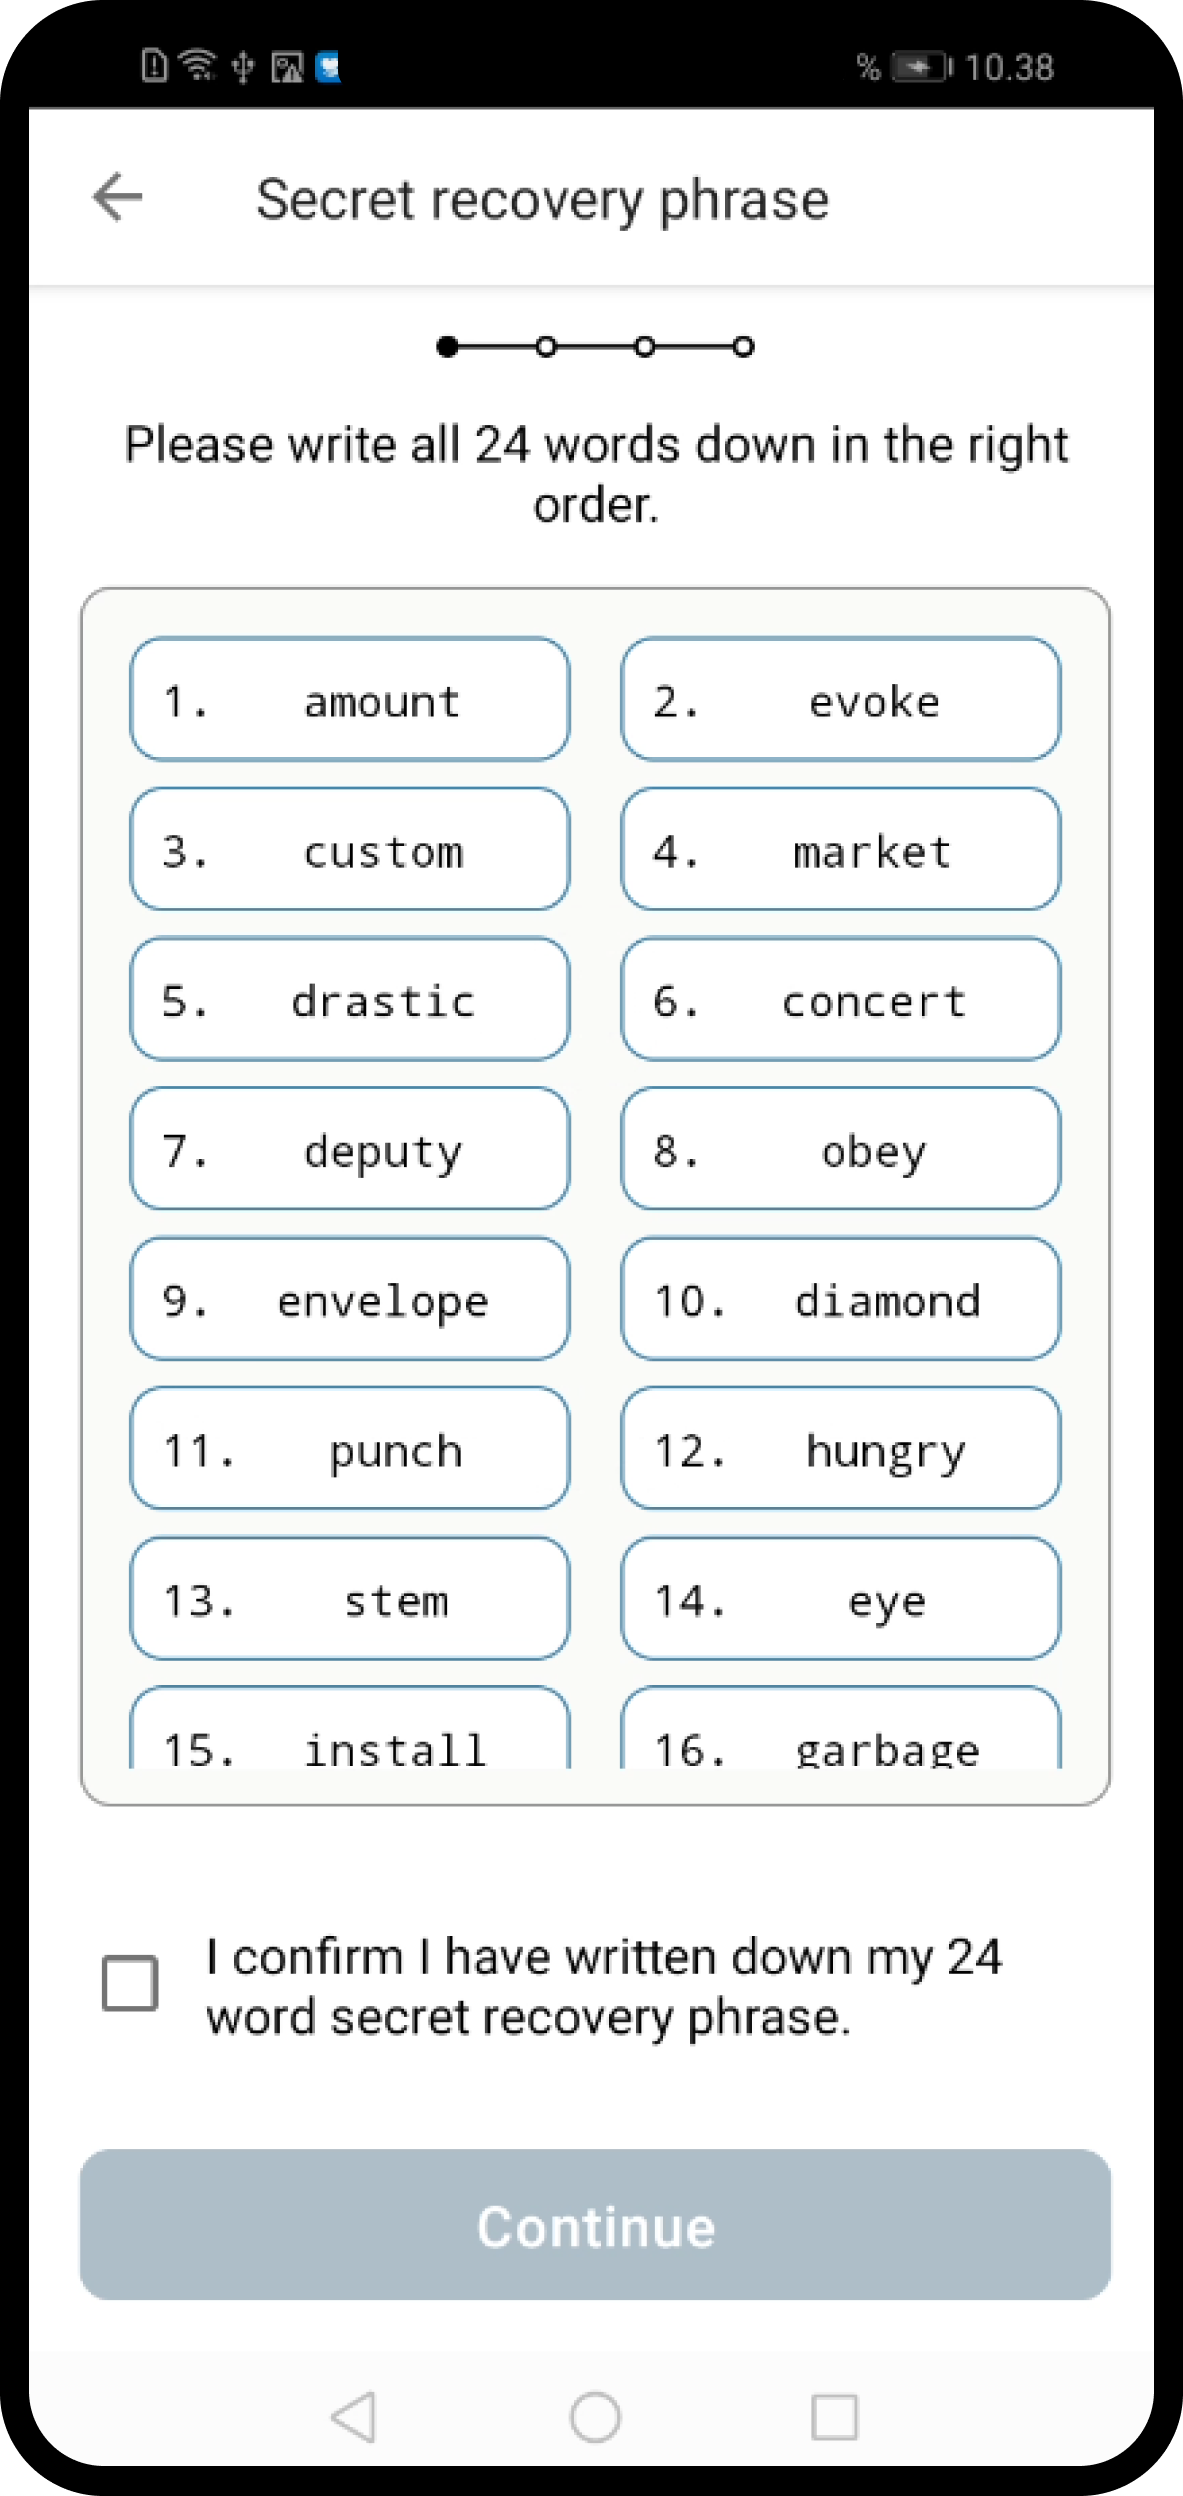
Tap on the screen to view your secret recovery phrase. Write down all 24 words in the exact order in which they are shown.
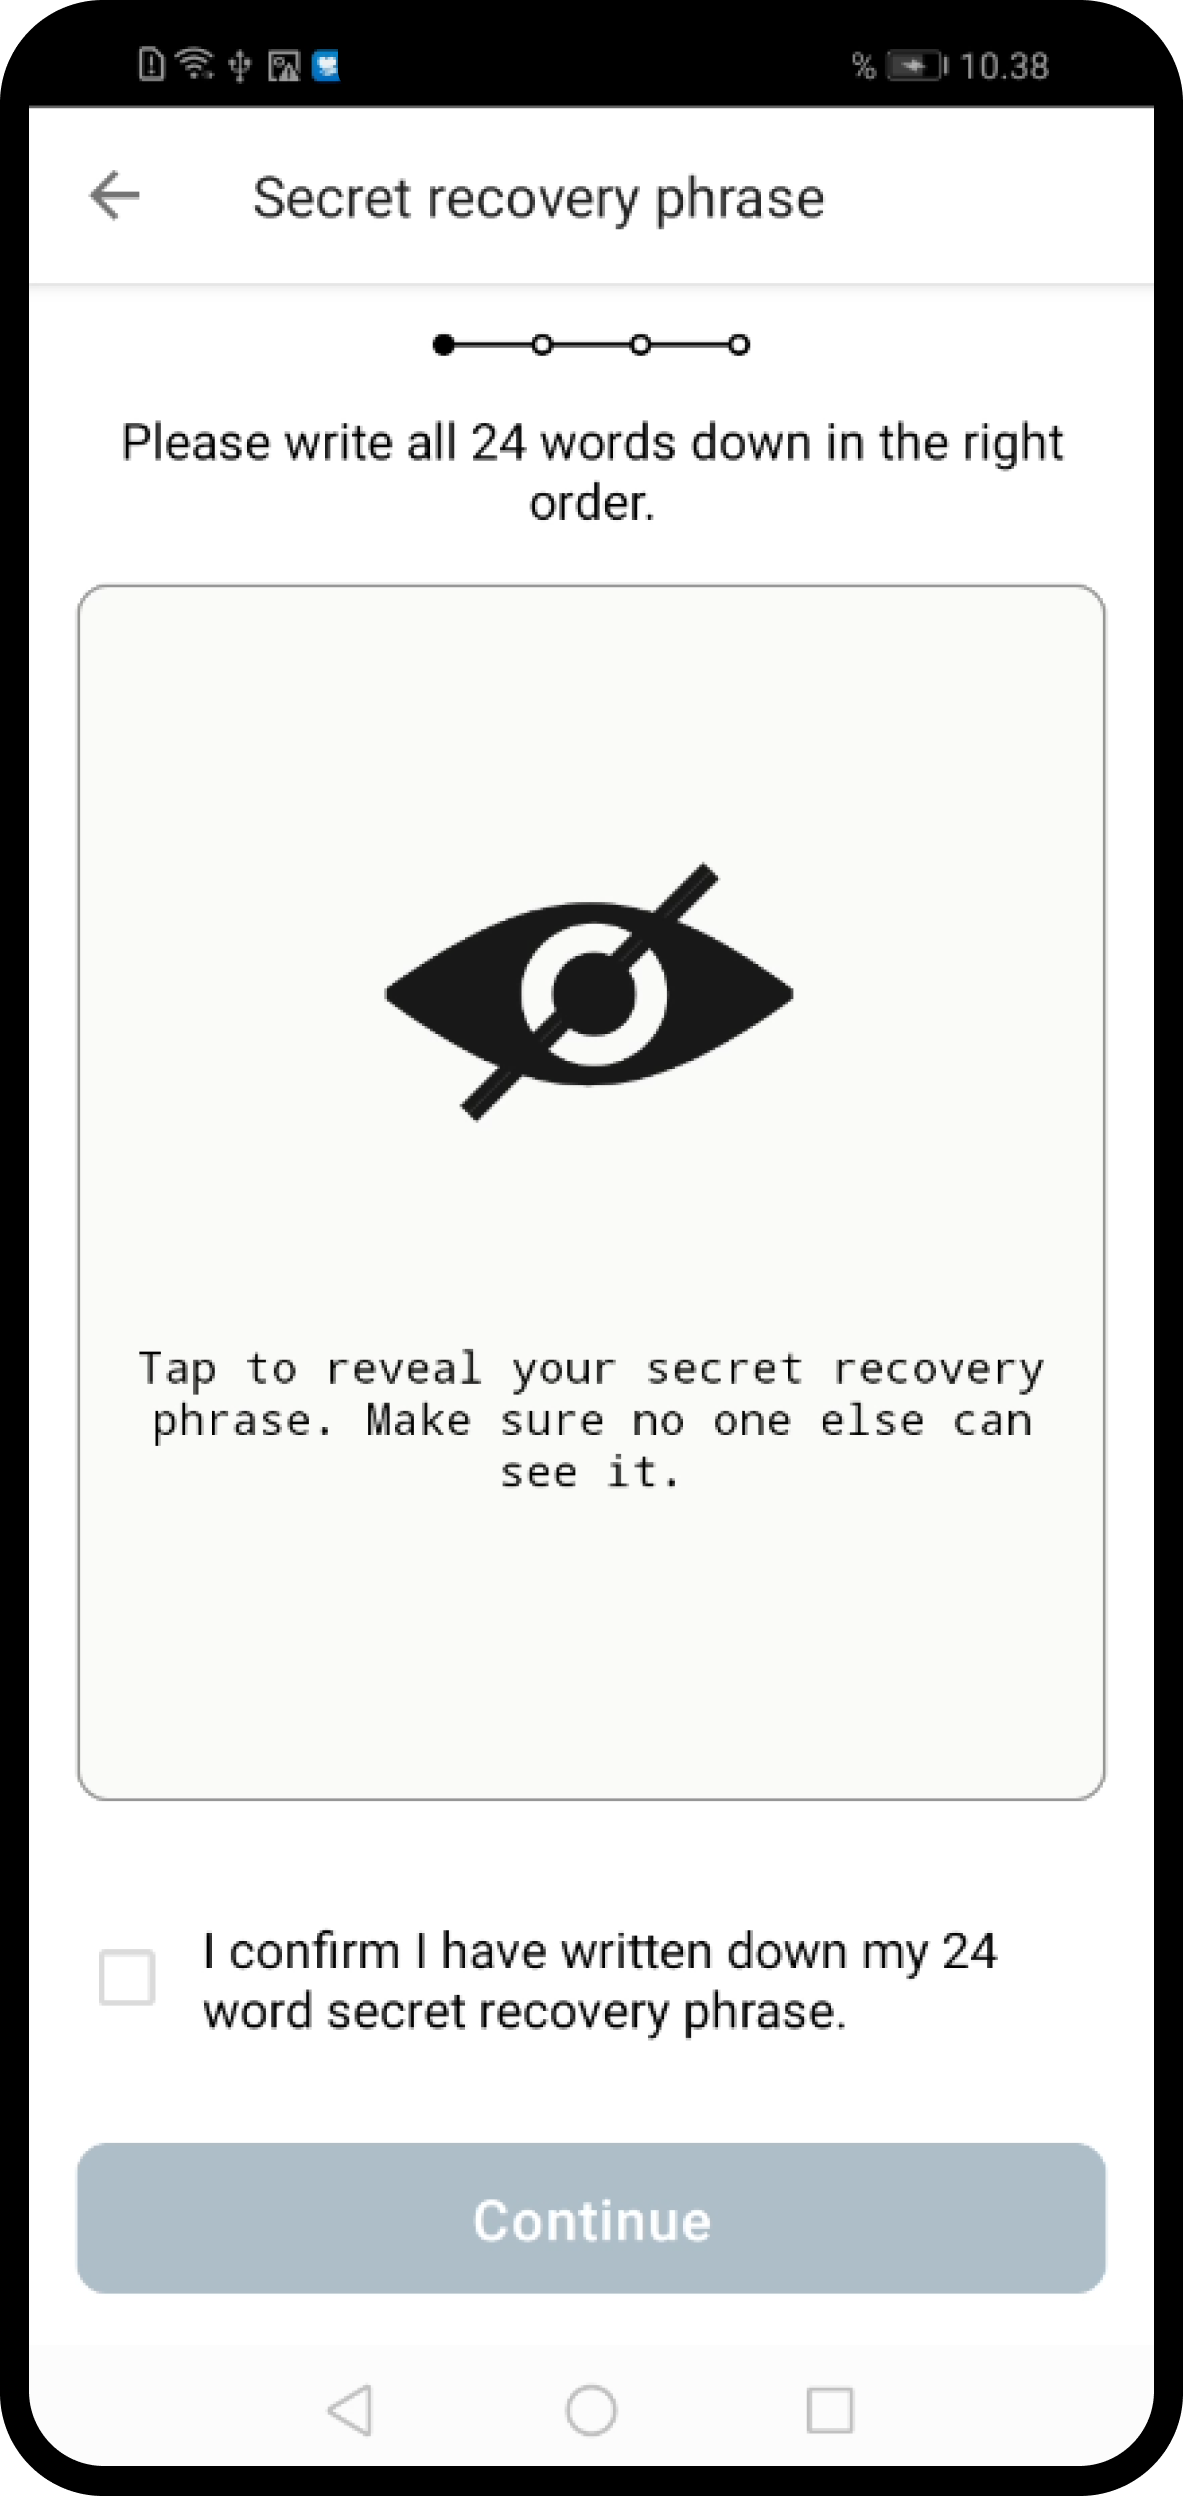
Place a check in the box I confirm I have written down my 24 word secret recovery phrase.
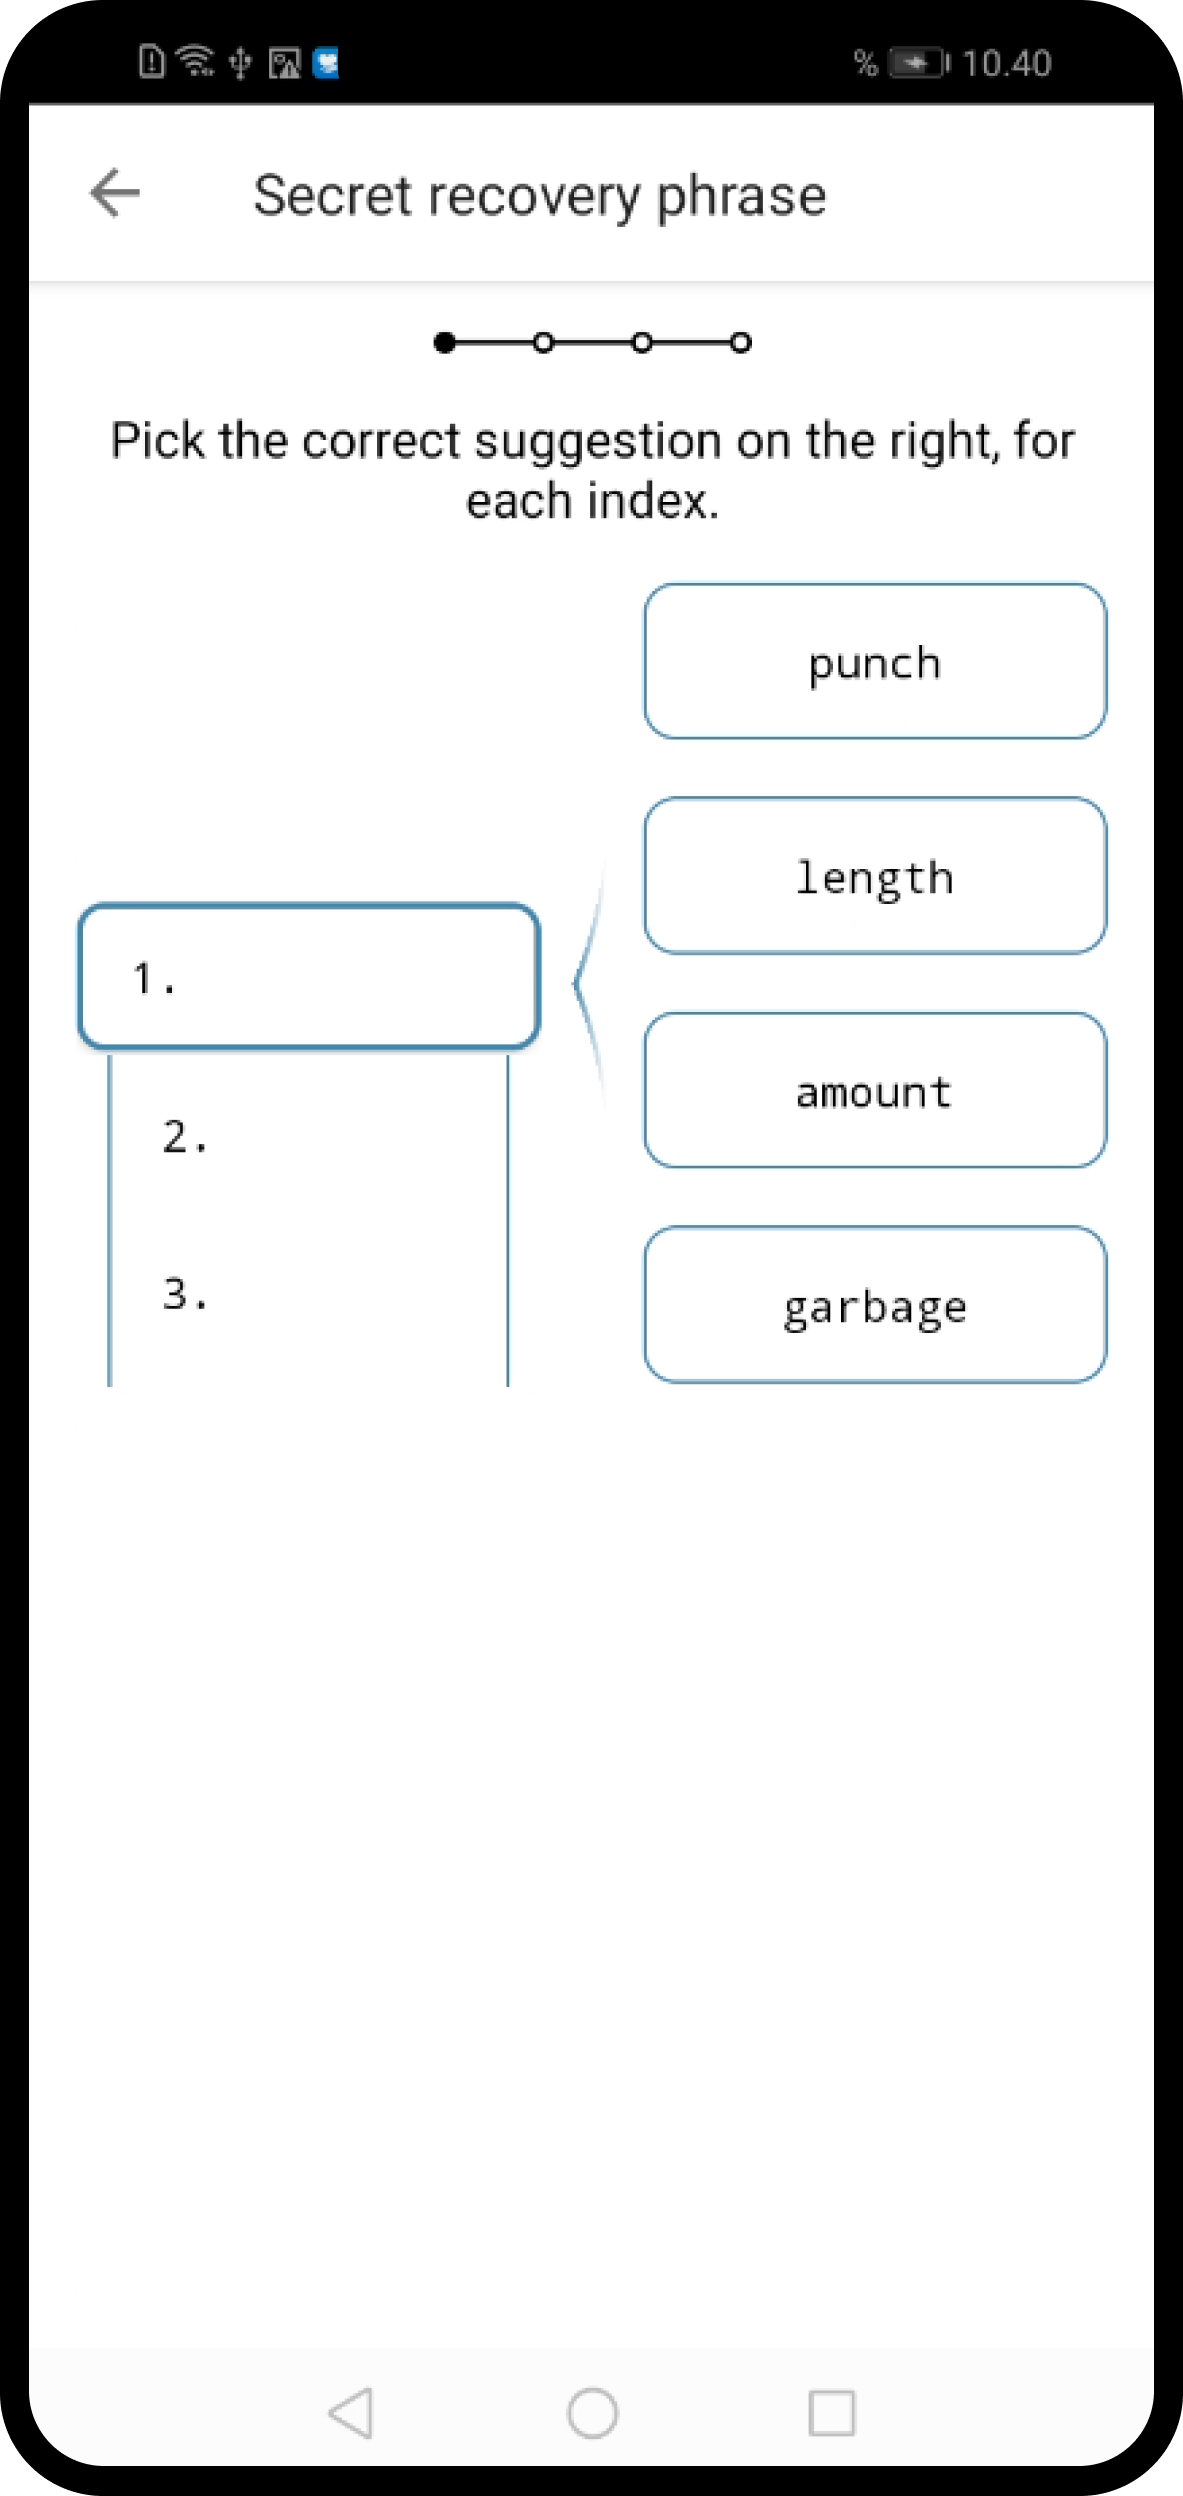
On the next screens select the word to enter in each index to confirm your secret recovery phrase. Once correct, tap Continue.
Request your identity and account#
Having set up your passcode and your secret recovery phrase, you must then submit a request for an identity and an account.
Request identity#
Read the next page in the app, shortly explaining the Concordium concepts of initial account and identity. Tap Continue.
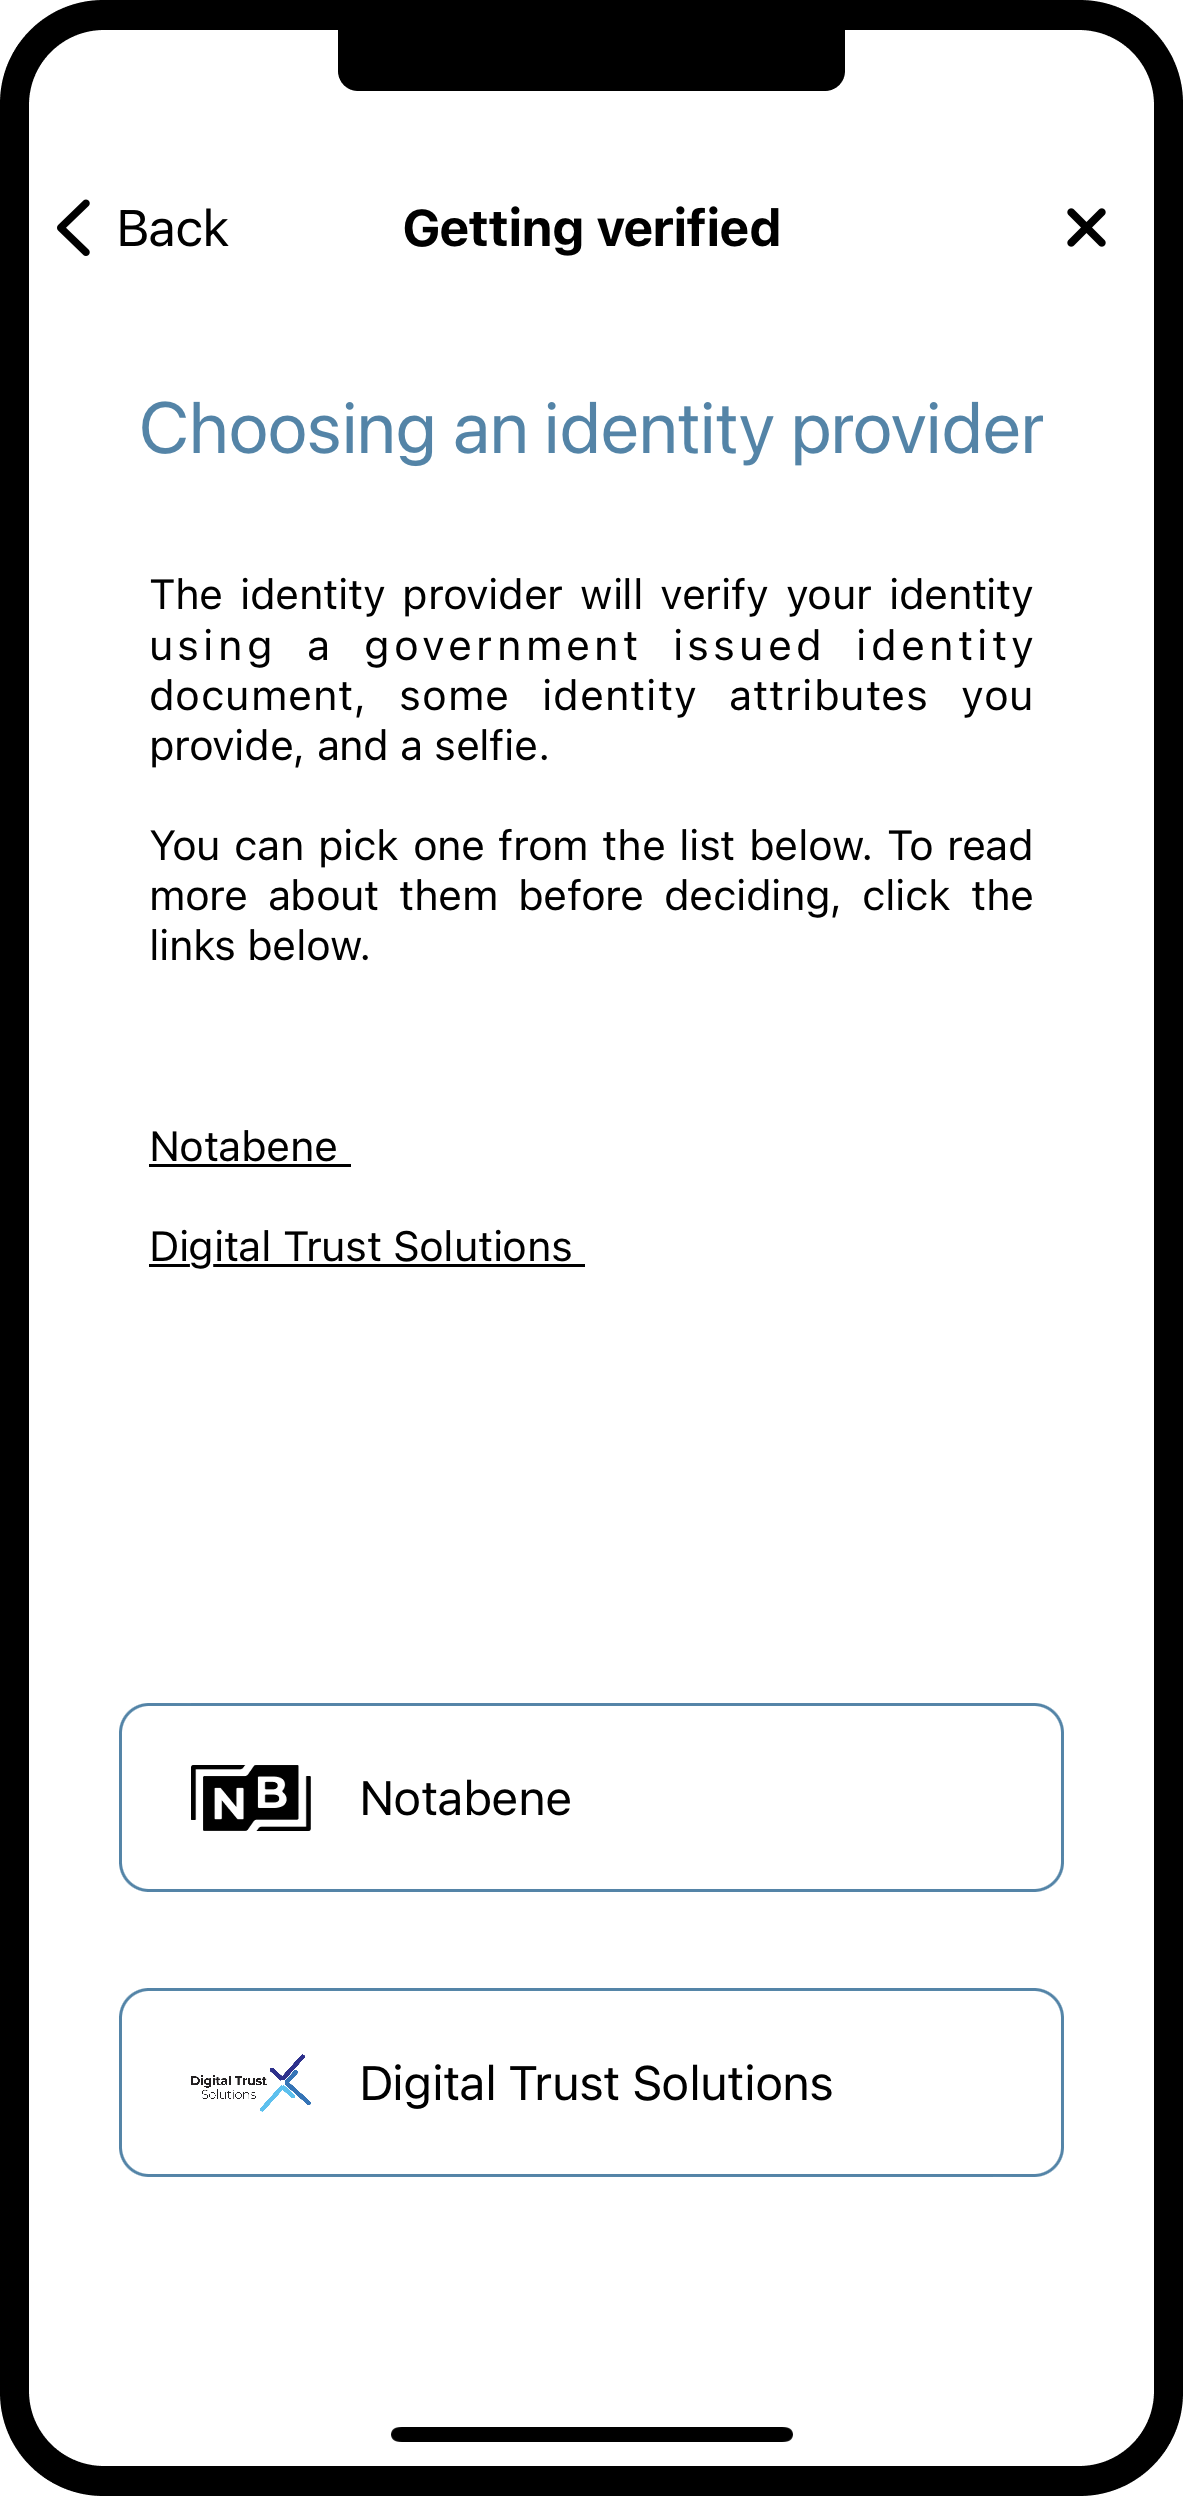
Select a third party identity provider from the list. Enter your wallet passcode when prompted. An external web page opens within the app.
Enter the information requested by the third-party identity provider. The information might vary depending on the identity provider. However, they will ask you to provide photos of identification documents and a selfie.
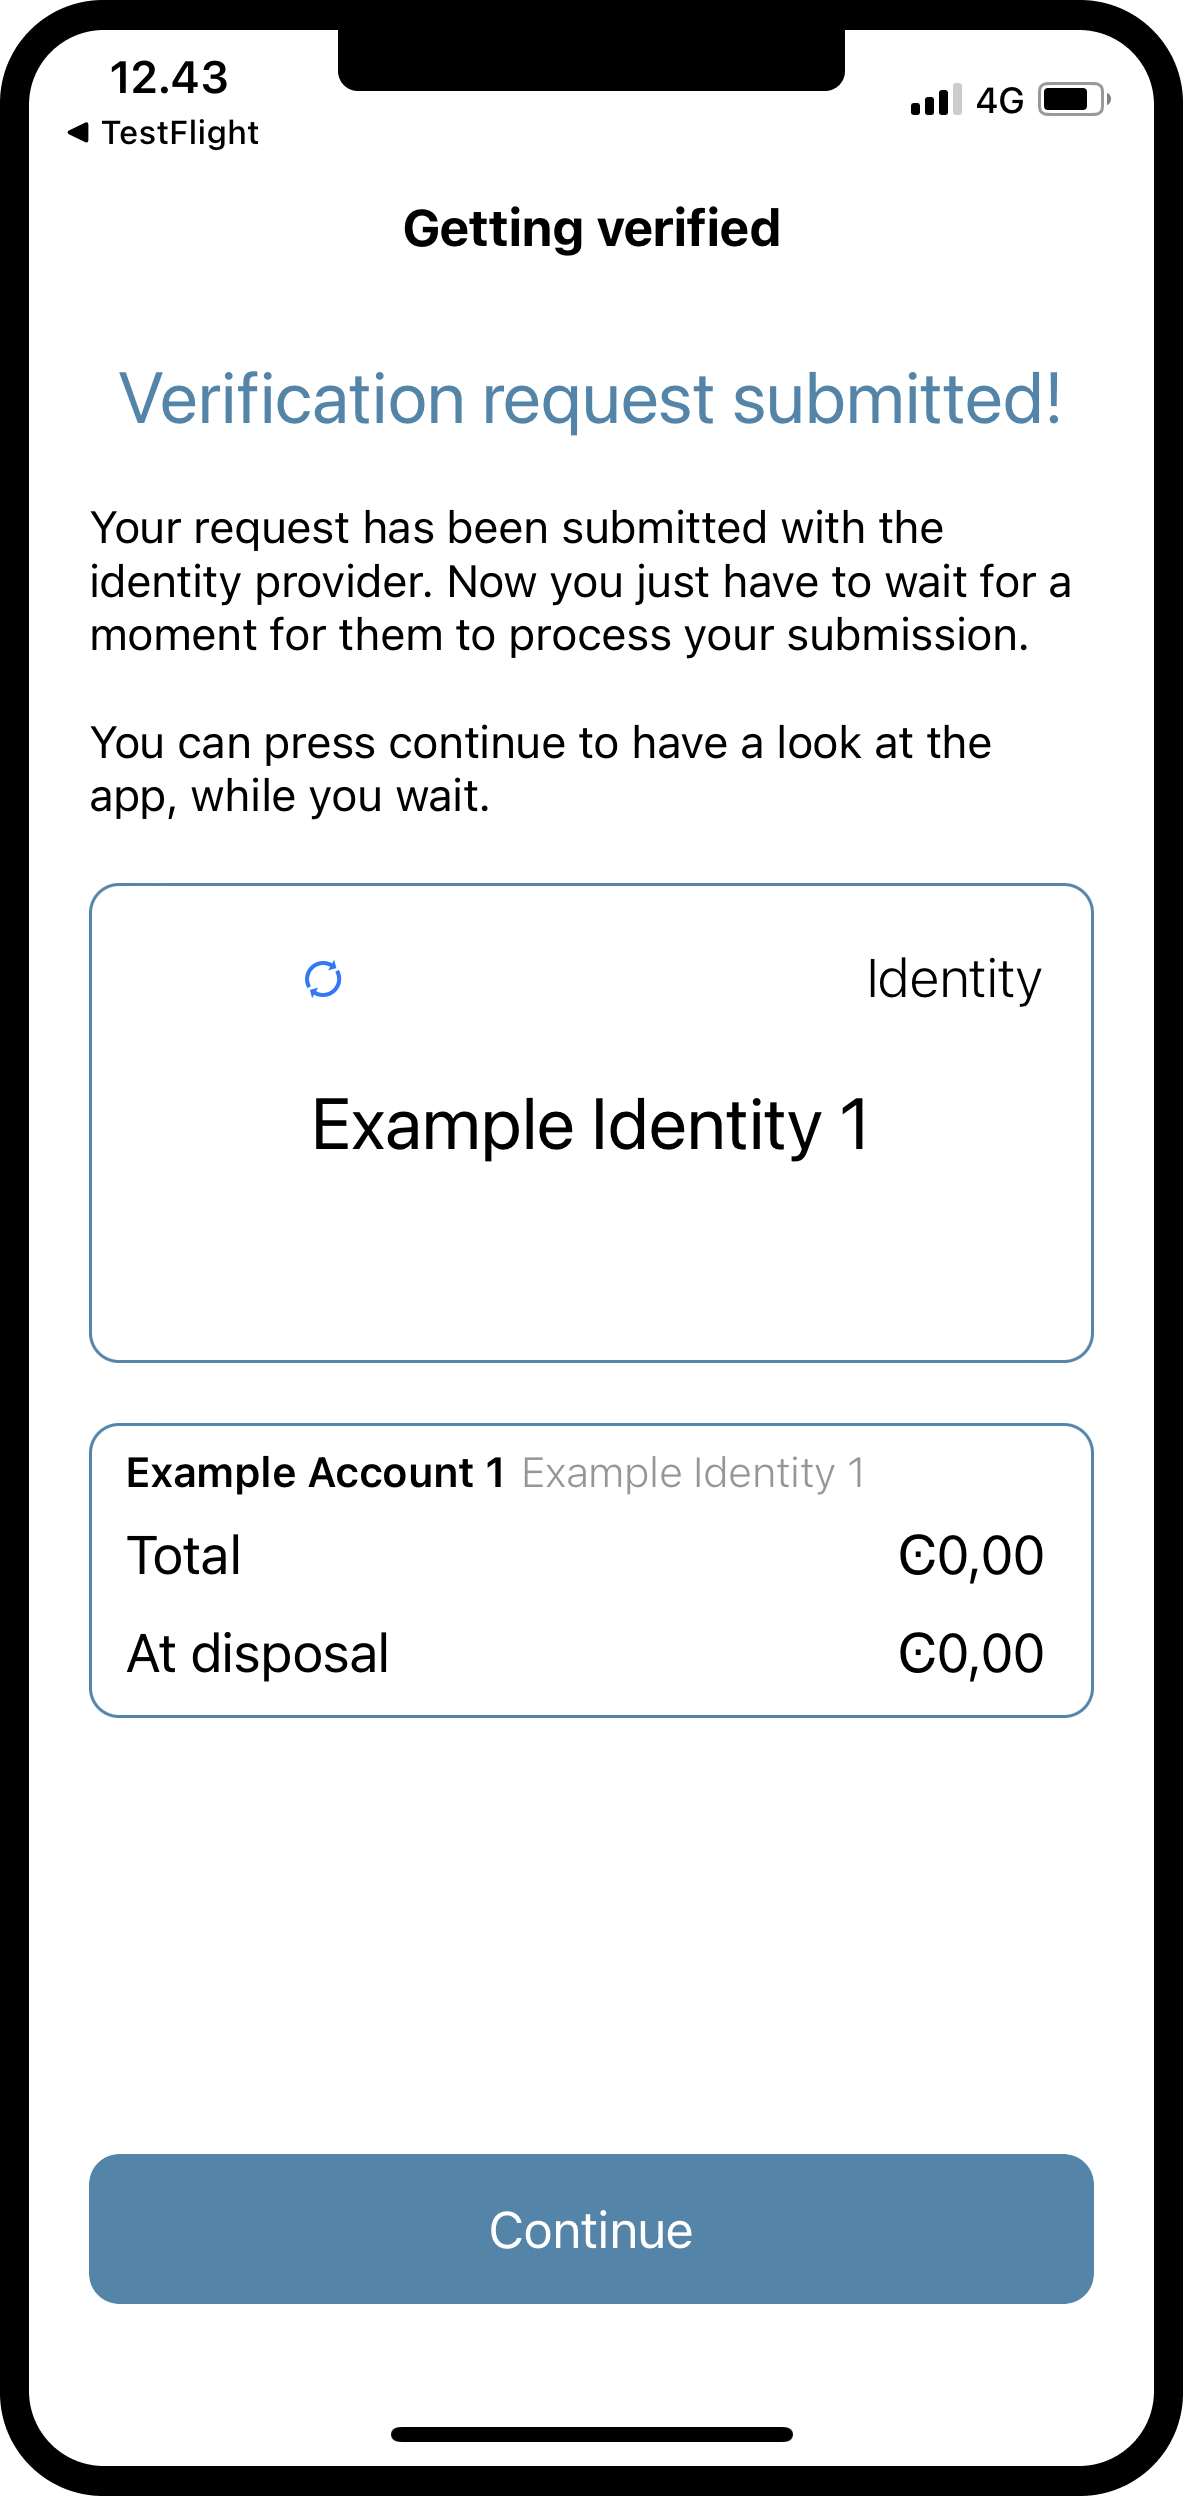
When you have submitted the information to the identity provider, you will have a pending initial account and identity in your app. The verification or rejection is usually retrieved from the identity provider within minutes, but check your app frequently to retrieve the result. The result can be retrieved for up to seven days.
If your identity request is rejected, you see a message. Tap Make new identity request to create a new identity request. You can choose another identity provider.
Request account#
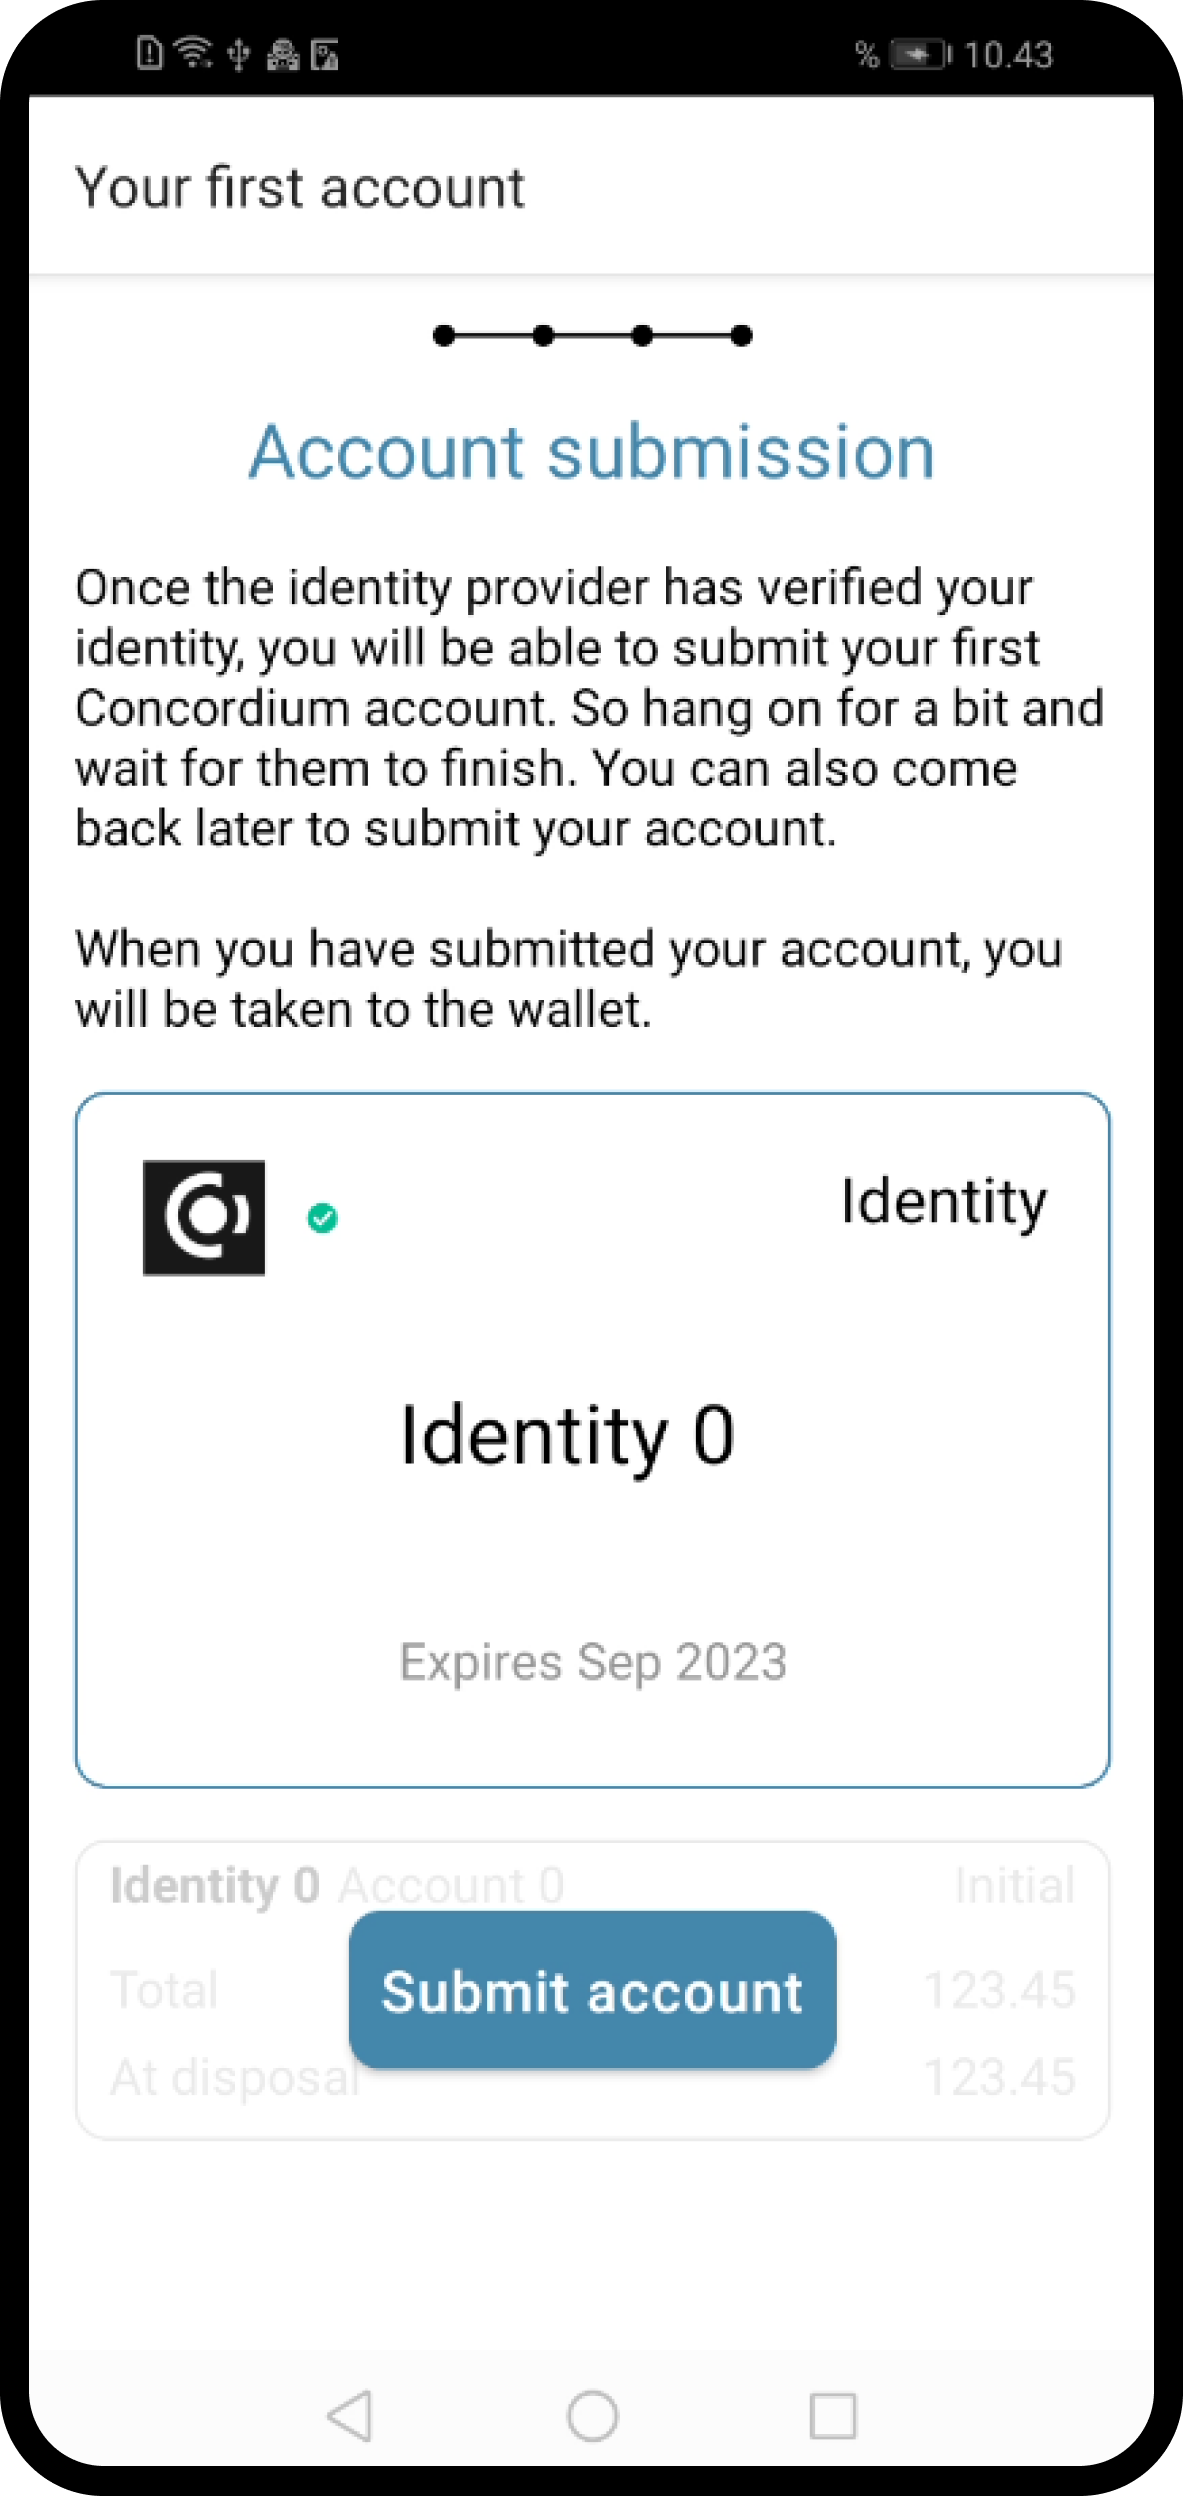
Once the identity provider has verified your identity you can submit an account. You can see when your identity has been verified by the green check next to the identity name.
Tap Submit account. Enter your wallet passcode when prompted.
Basic navigation#
In the wallet you have some navigation options.
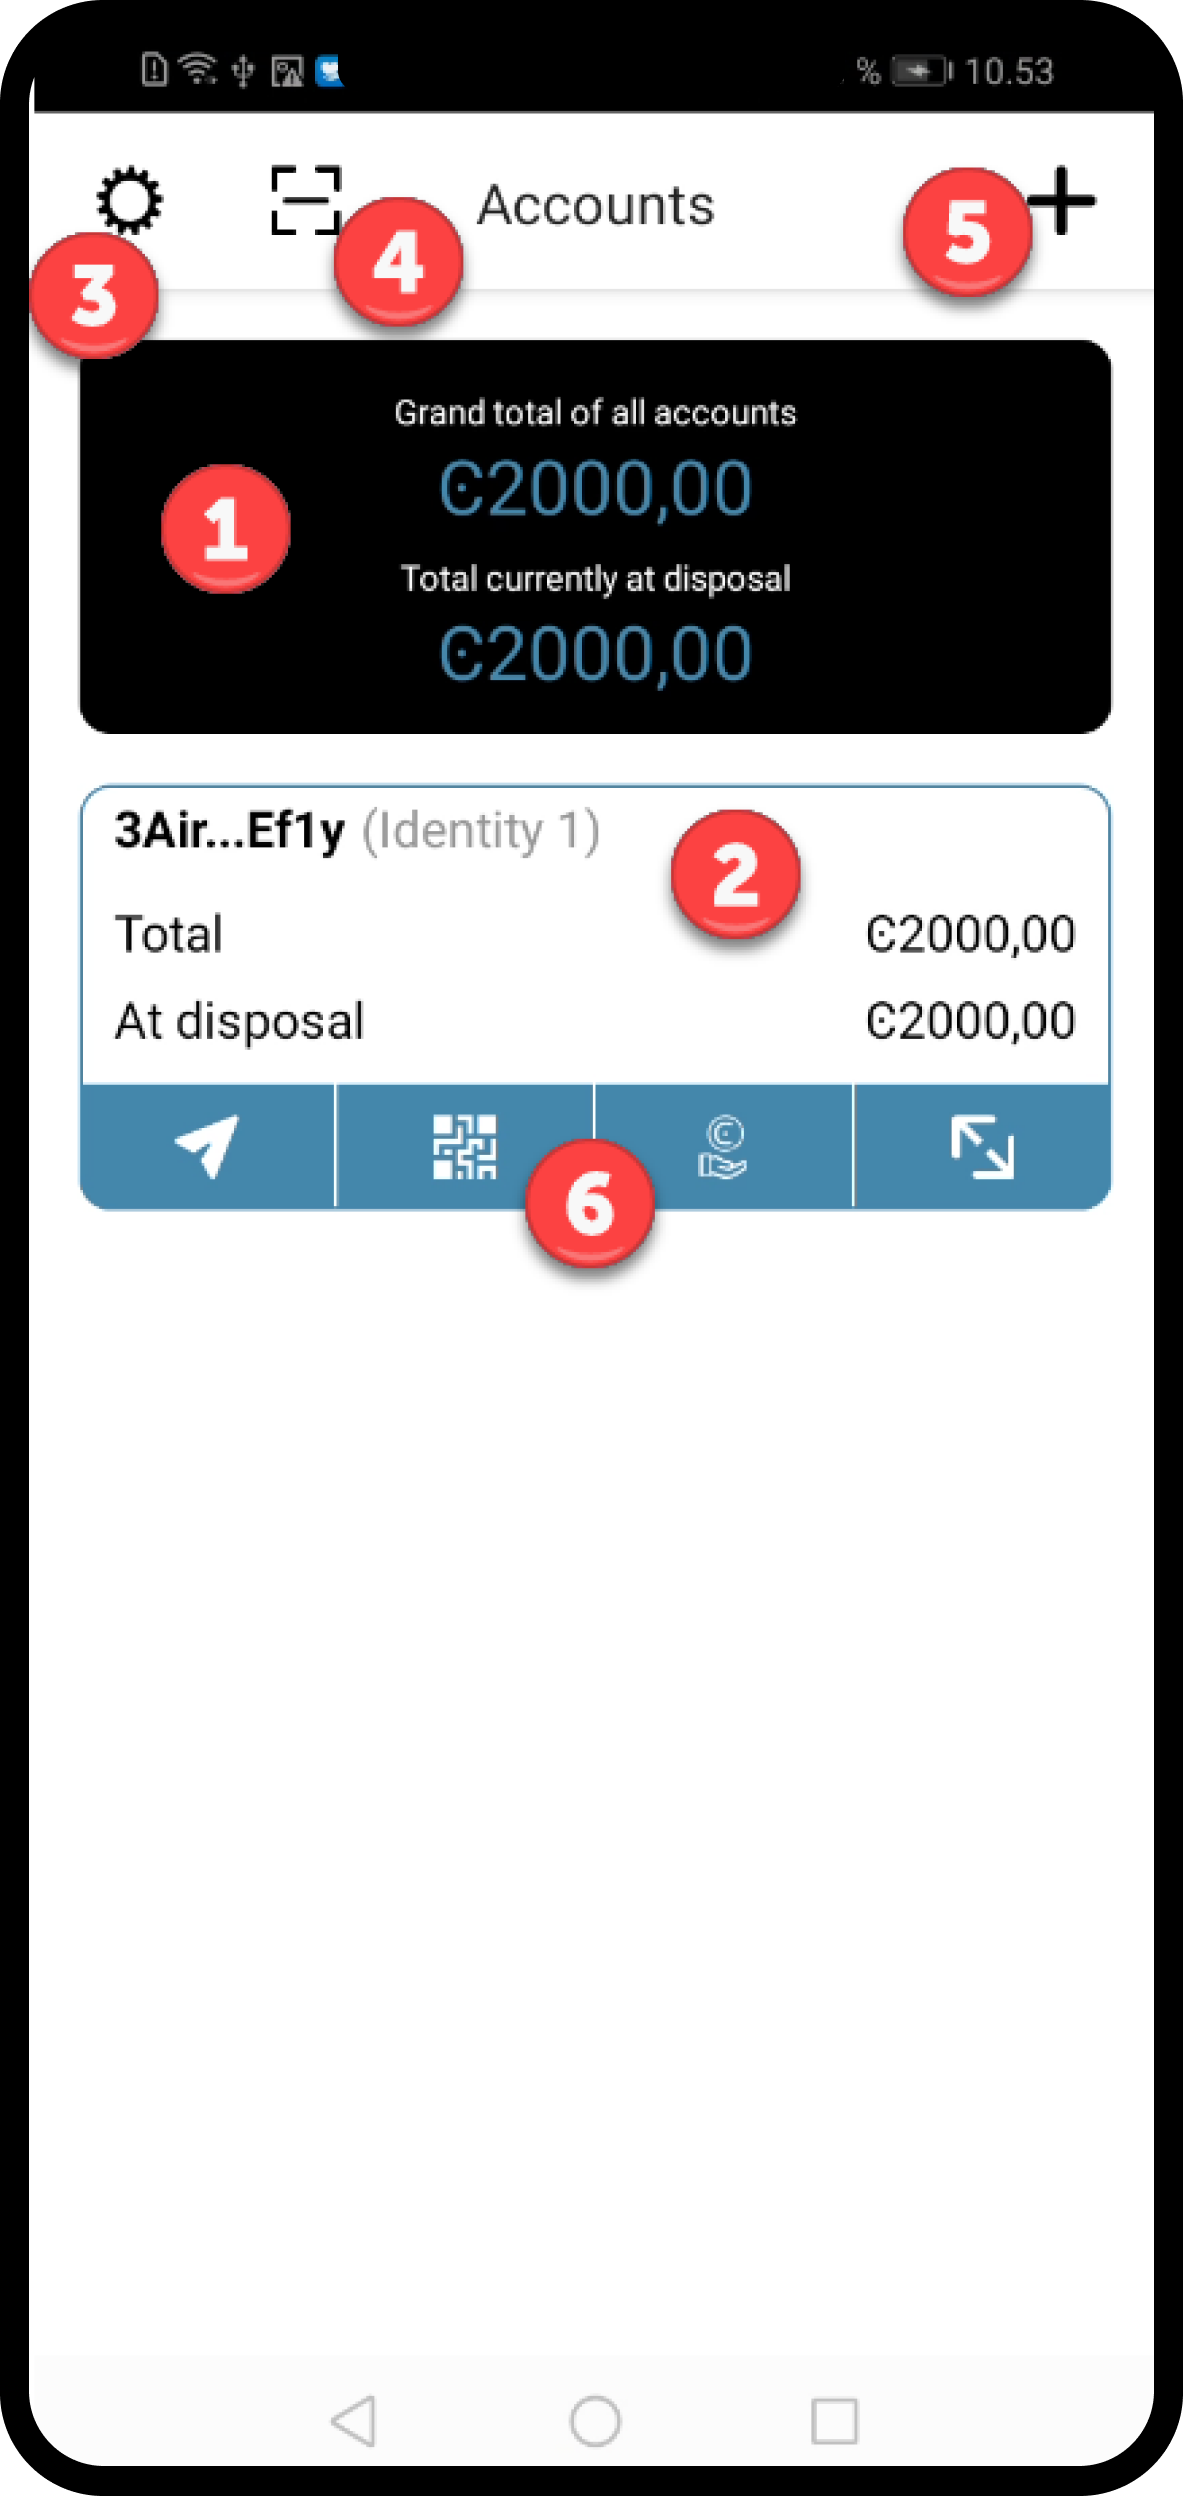
Balances: shows total balances of all accounts.
Account: shows the identity on which the account was created, and totals.
Wallet settings: contains actions for the wallet.
Scan QR code: tap to scan a QR code to connect to a dApp.
Add: to add a new account.
Account actions: range of actions you can perform on the account, such as send, receive, and so on.
Wallet settings#
In the Wallet settings  you have the following options.
Your identity cards: view all identities in the wallet and details of the identities, edit identity names, and create new identities.
Address book: manage your address book.
Update passcode and biometrics: change your wallet passcode or activate biometrics.
Recovery: recover your wallet.
Account navigation#
When you tap on an account, you see the details for the specific account, including balances and transactions. The toolbar contains actions that can be performed on the account. Use the left and right arrows at the end of the toolbar to navigate the actions.
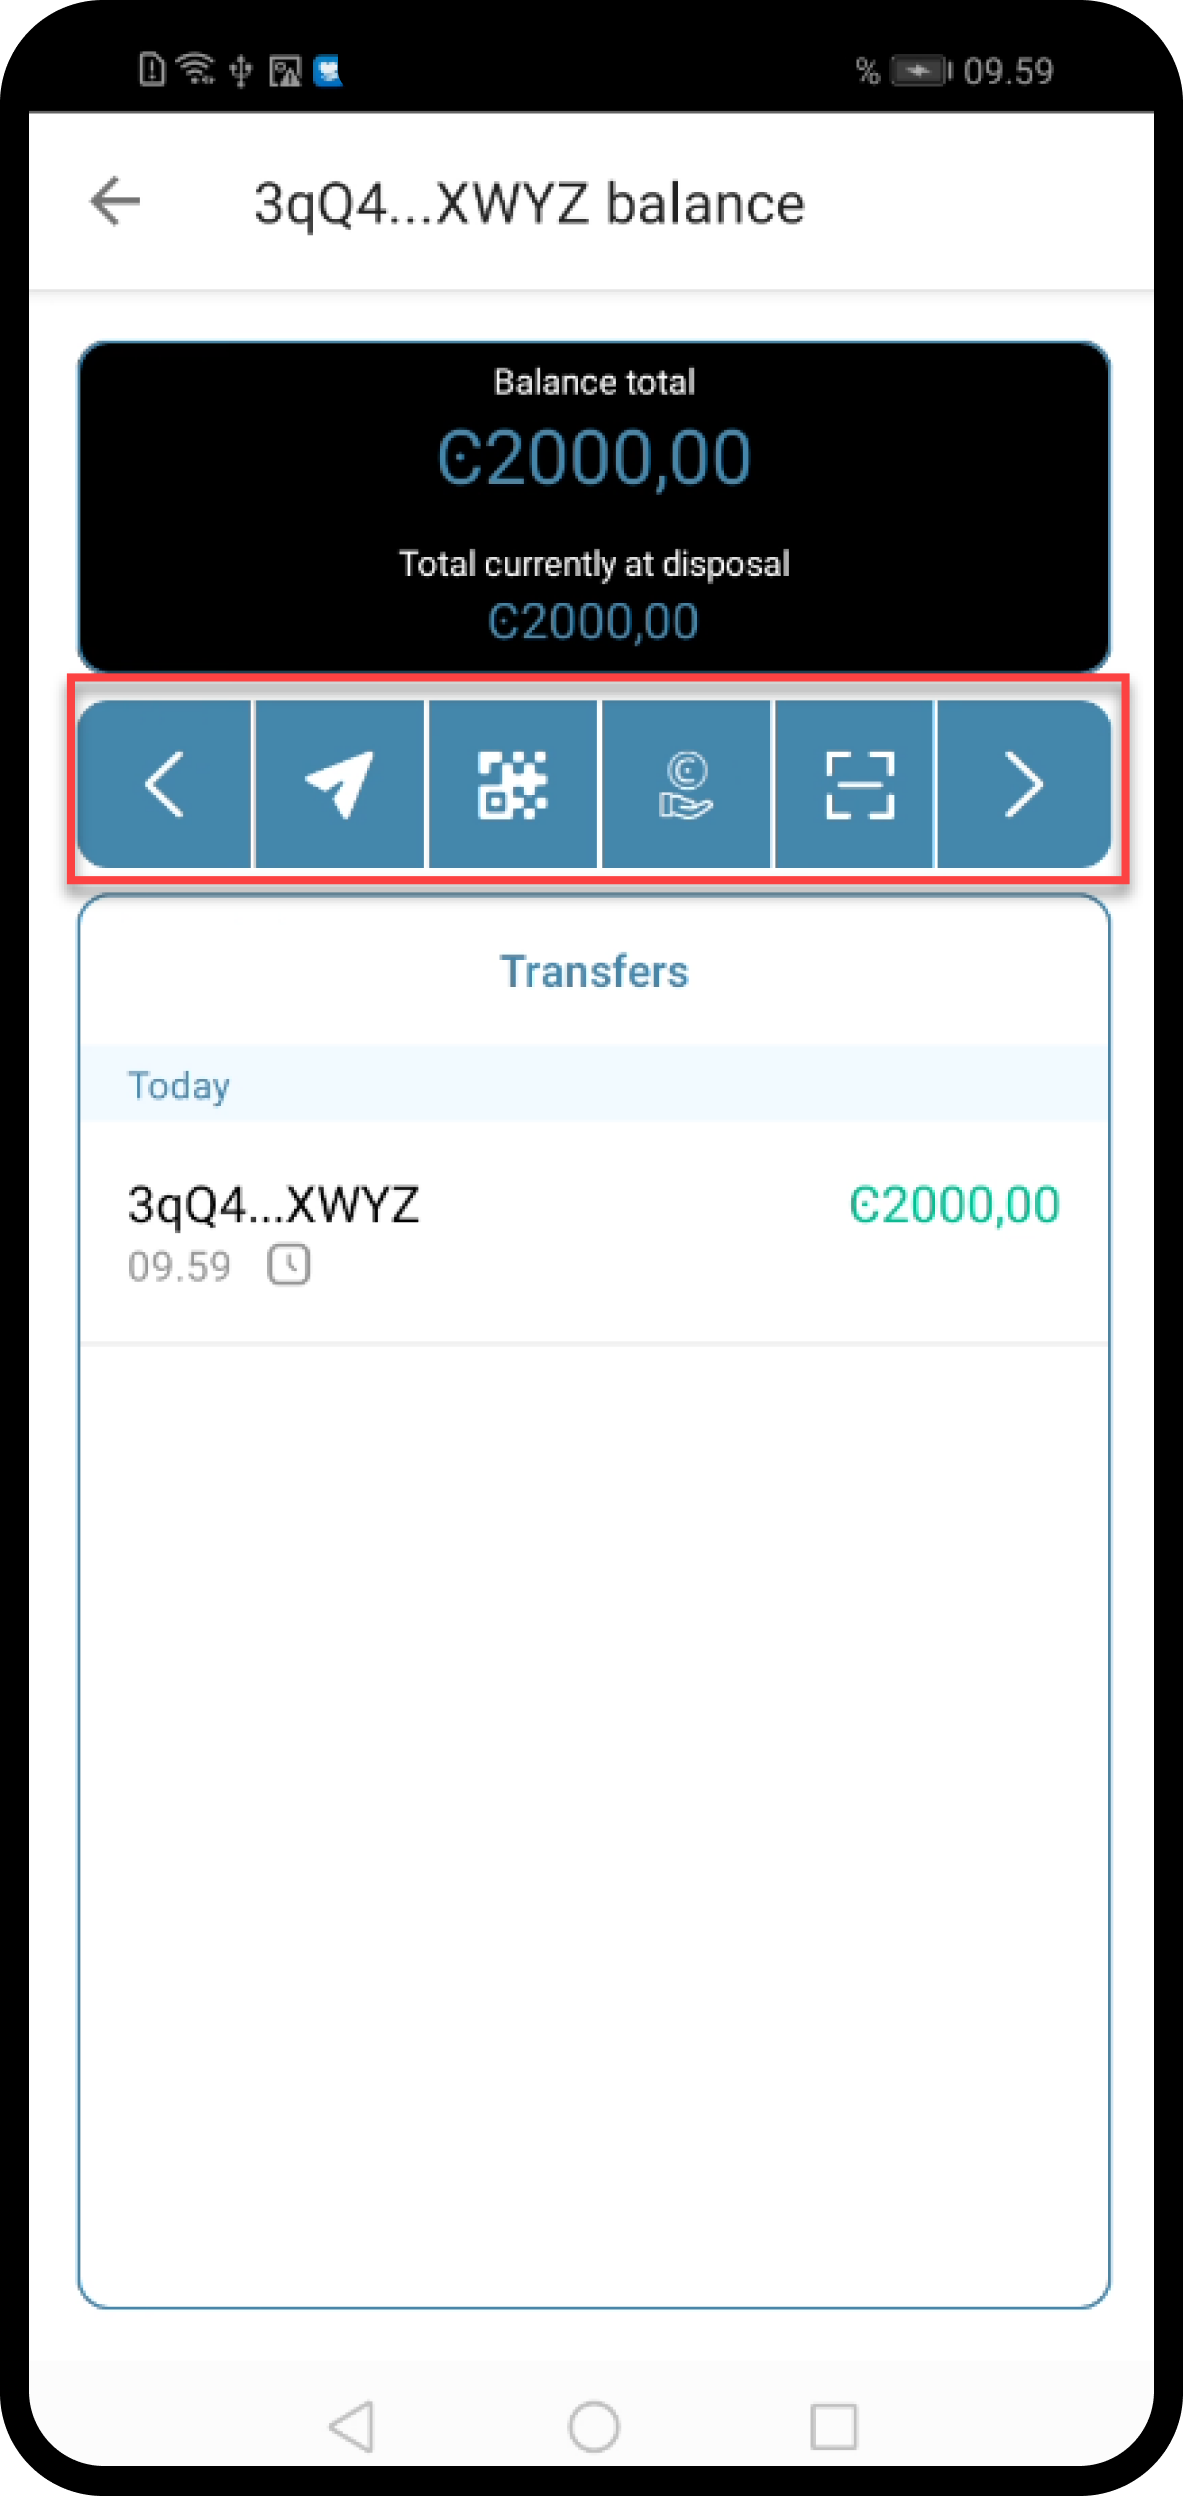
Send: send funds
Receive: find and share your address
Earn: configure and manage validation or delegation
Scan QR code: scan QR code of a dApp
- Account settings: perform some less often used actions on an account
Transfer filters: configure filters to show or hide rewards
Show shielded balance: Show the shielded balance tab on the account (deprecated)
Release schedule: inspect a release schedule
Change account name: customize account names
Export private key: export your private key for testing smart contracts, for example
